Control tables
Description of the device
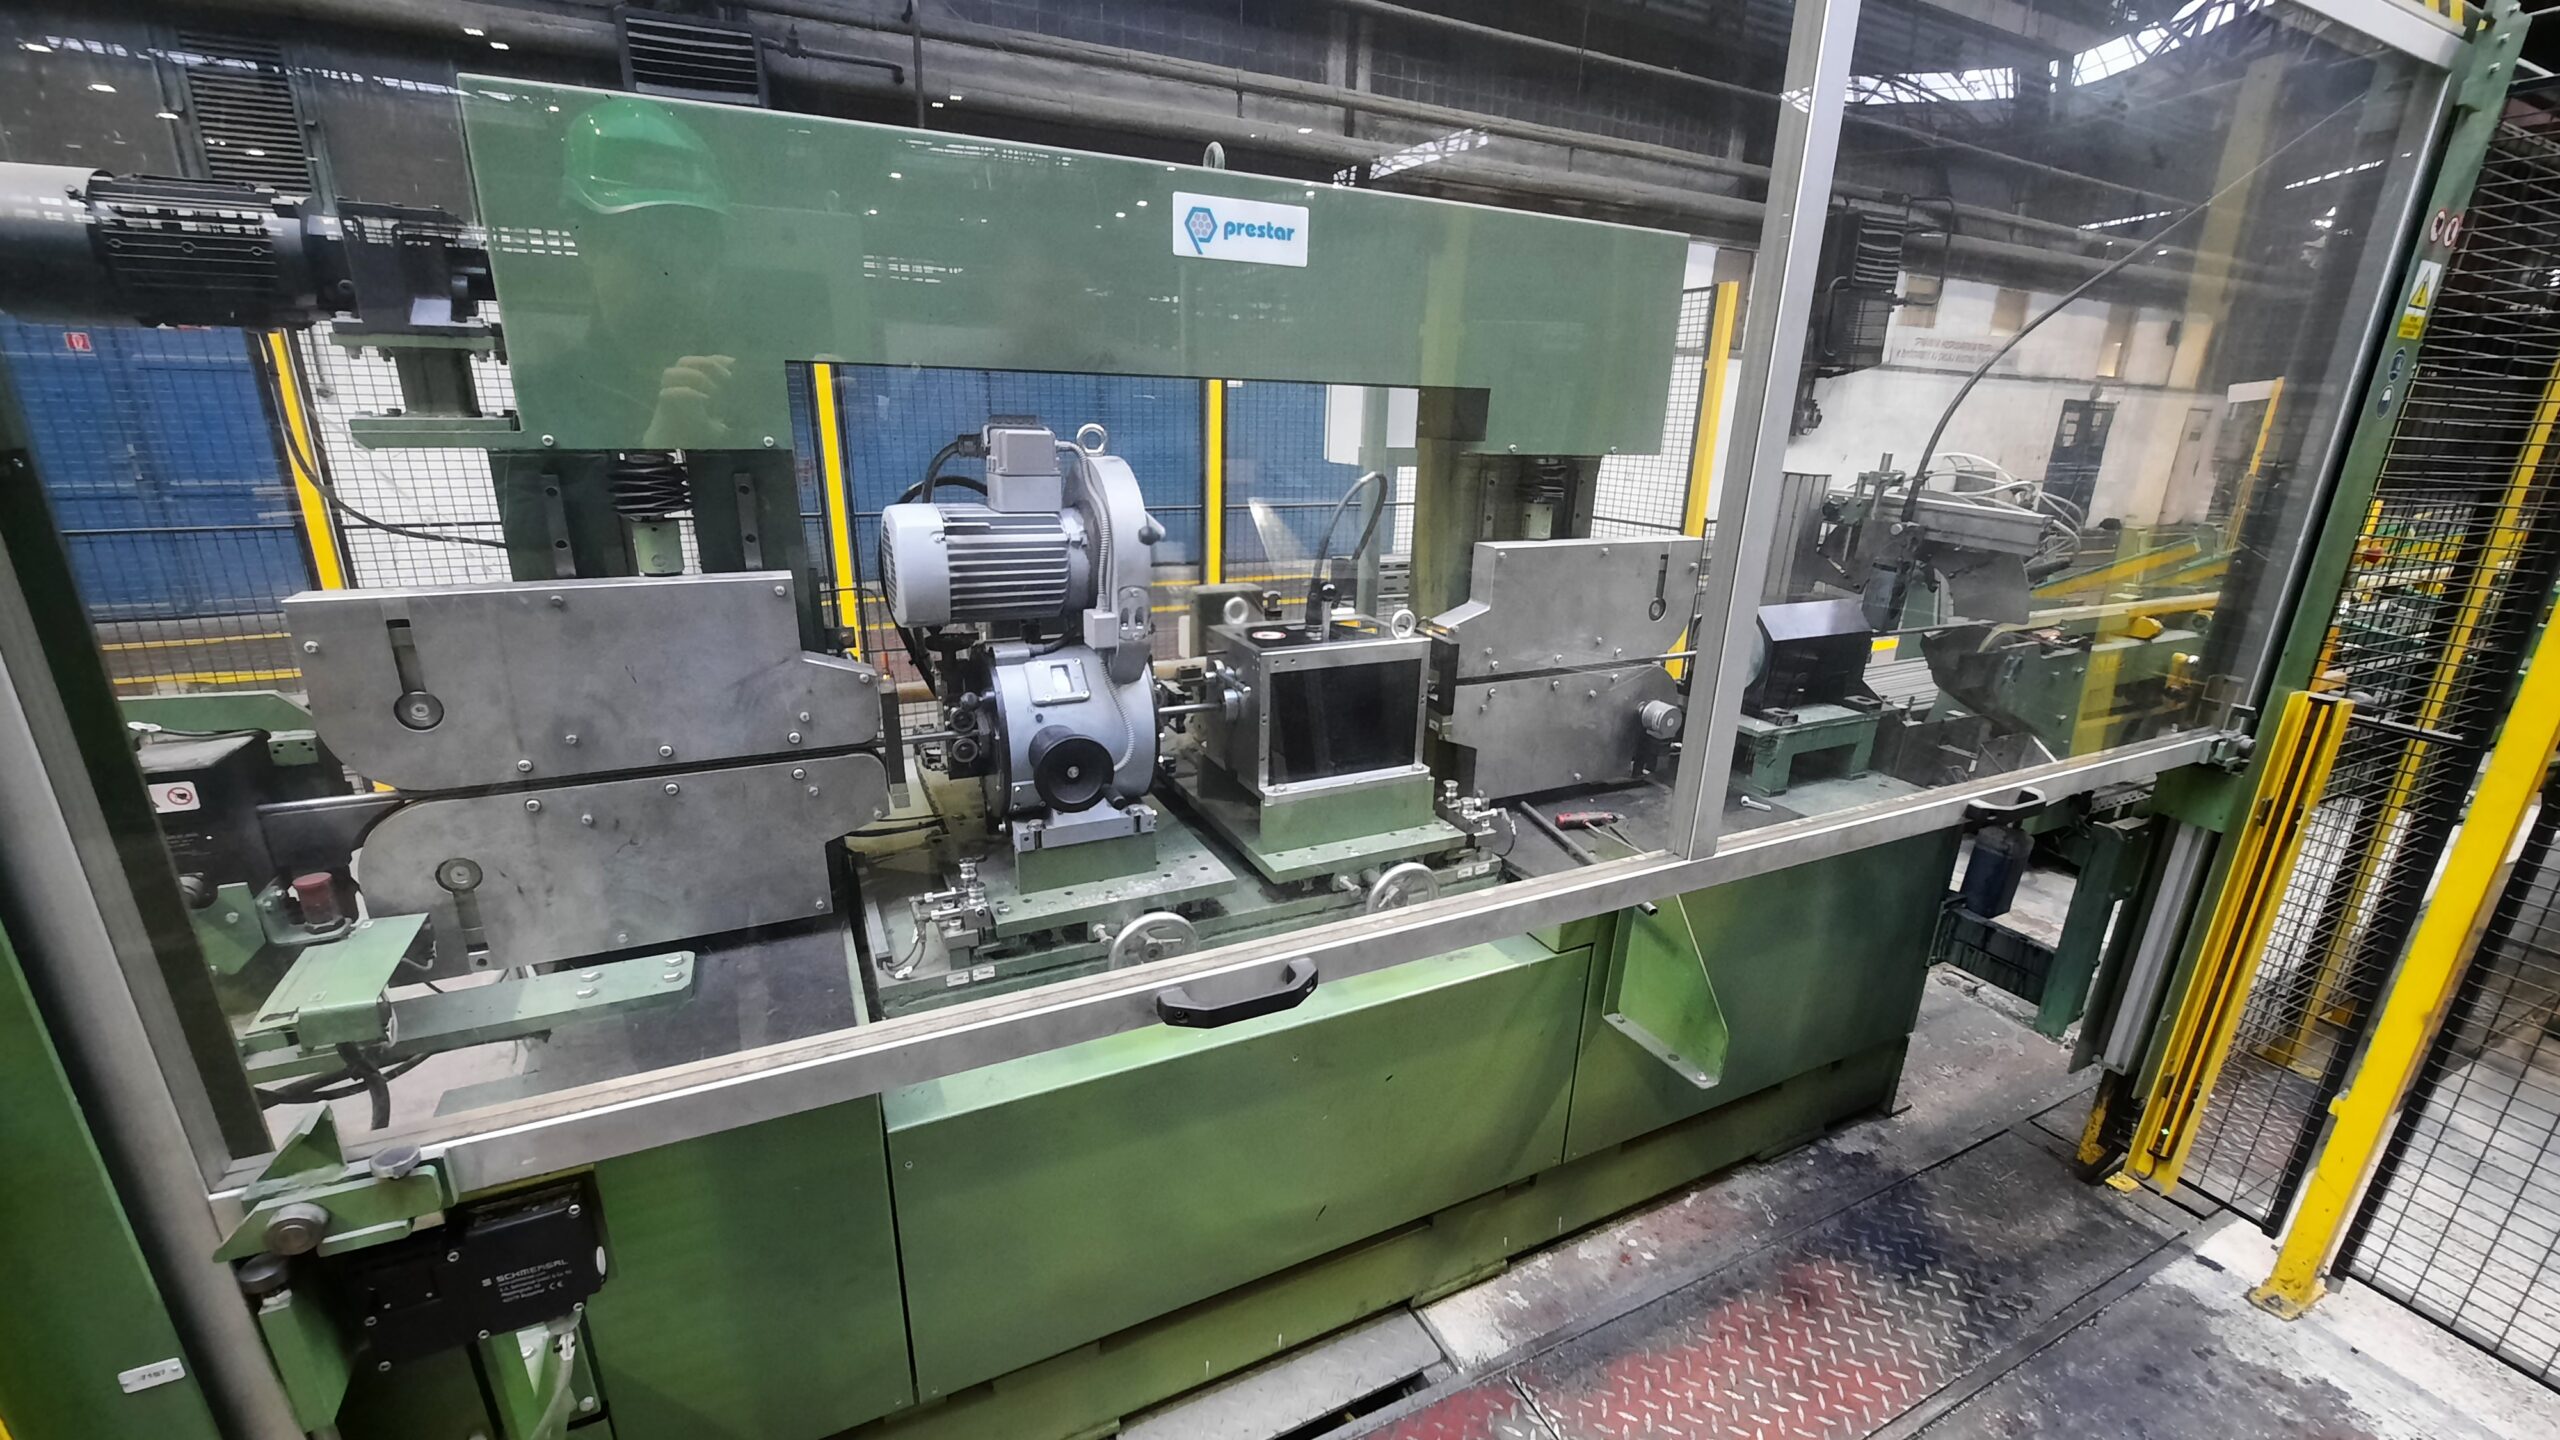
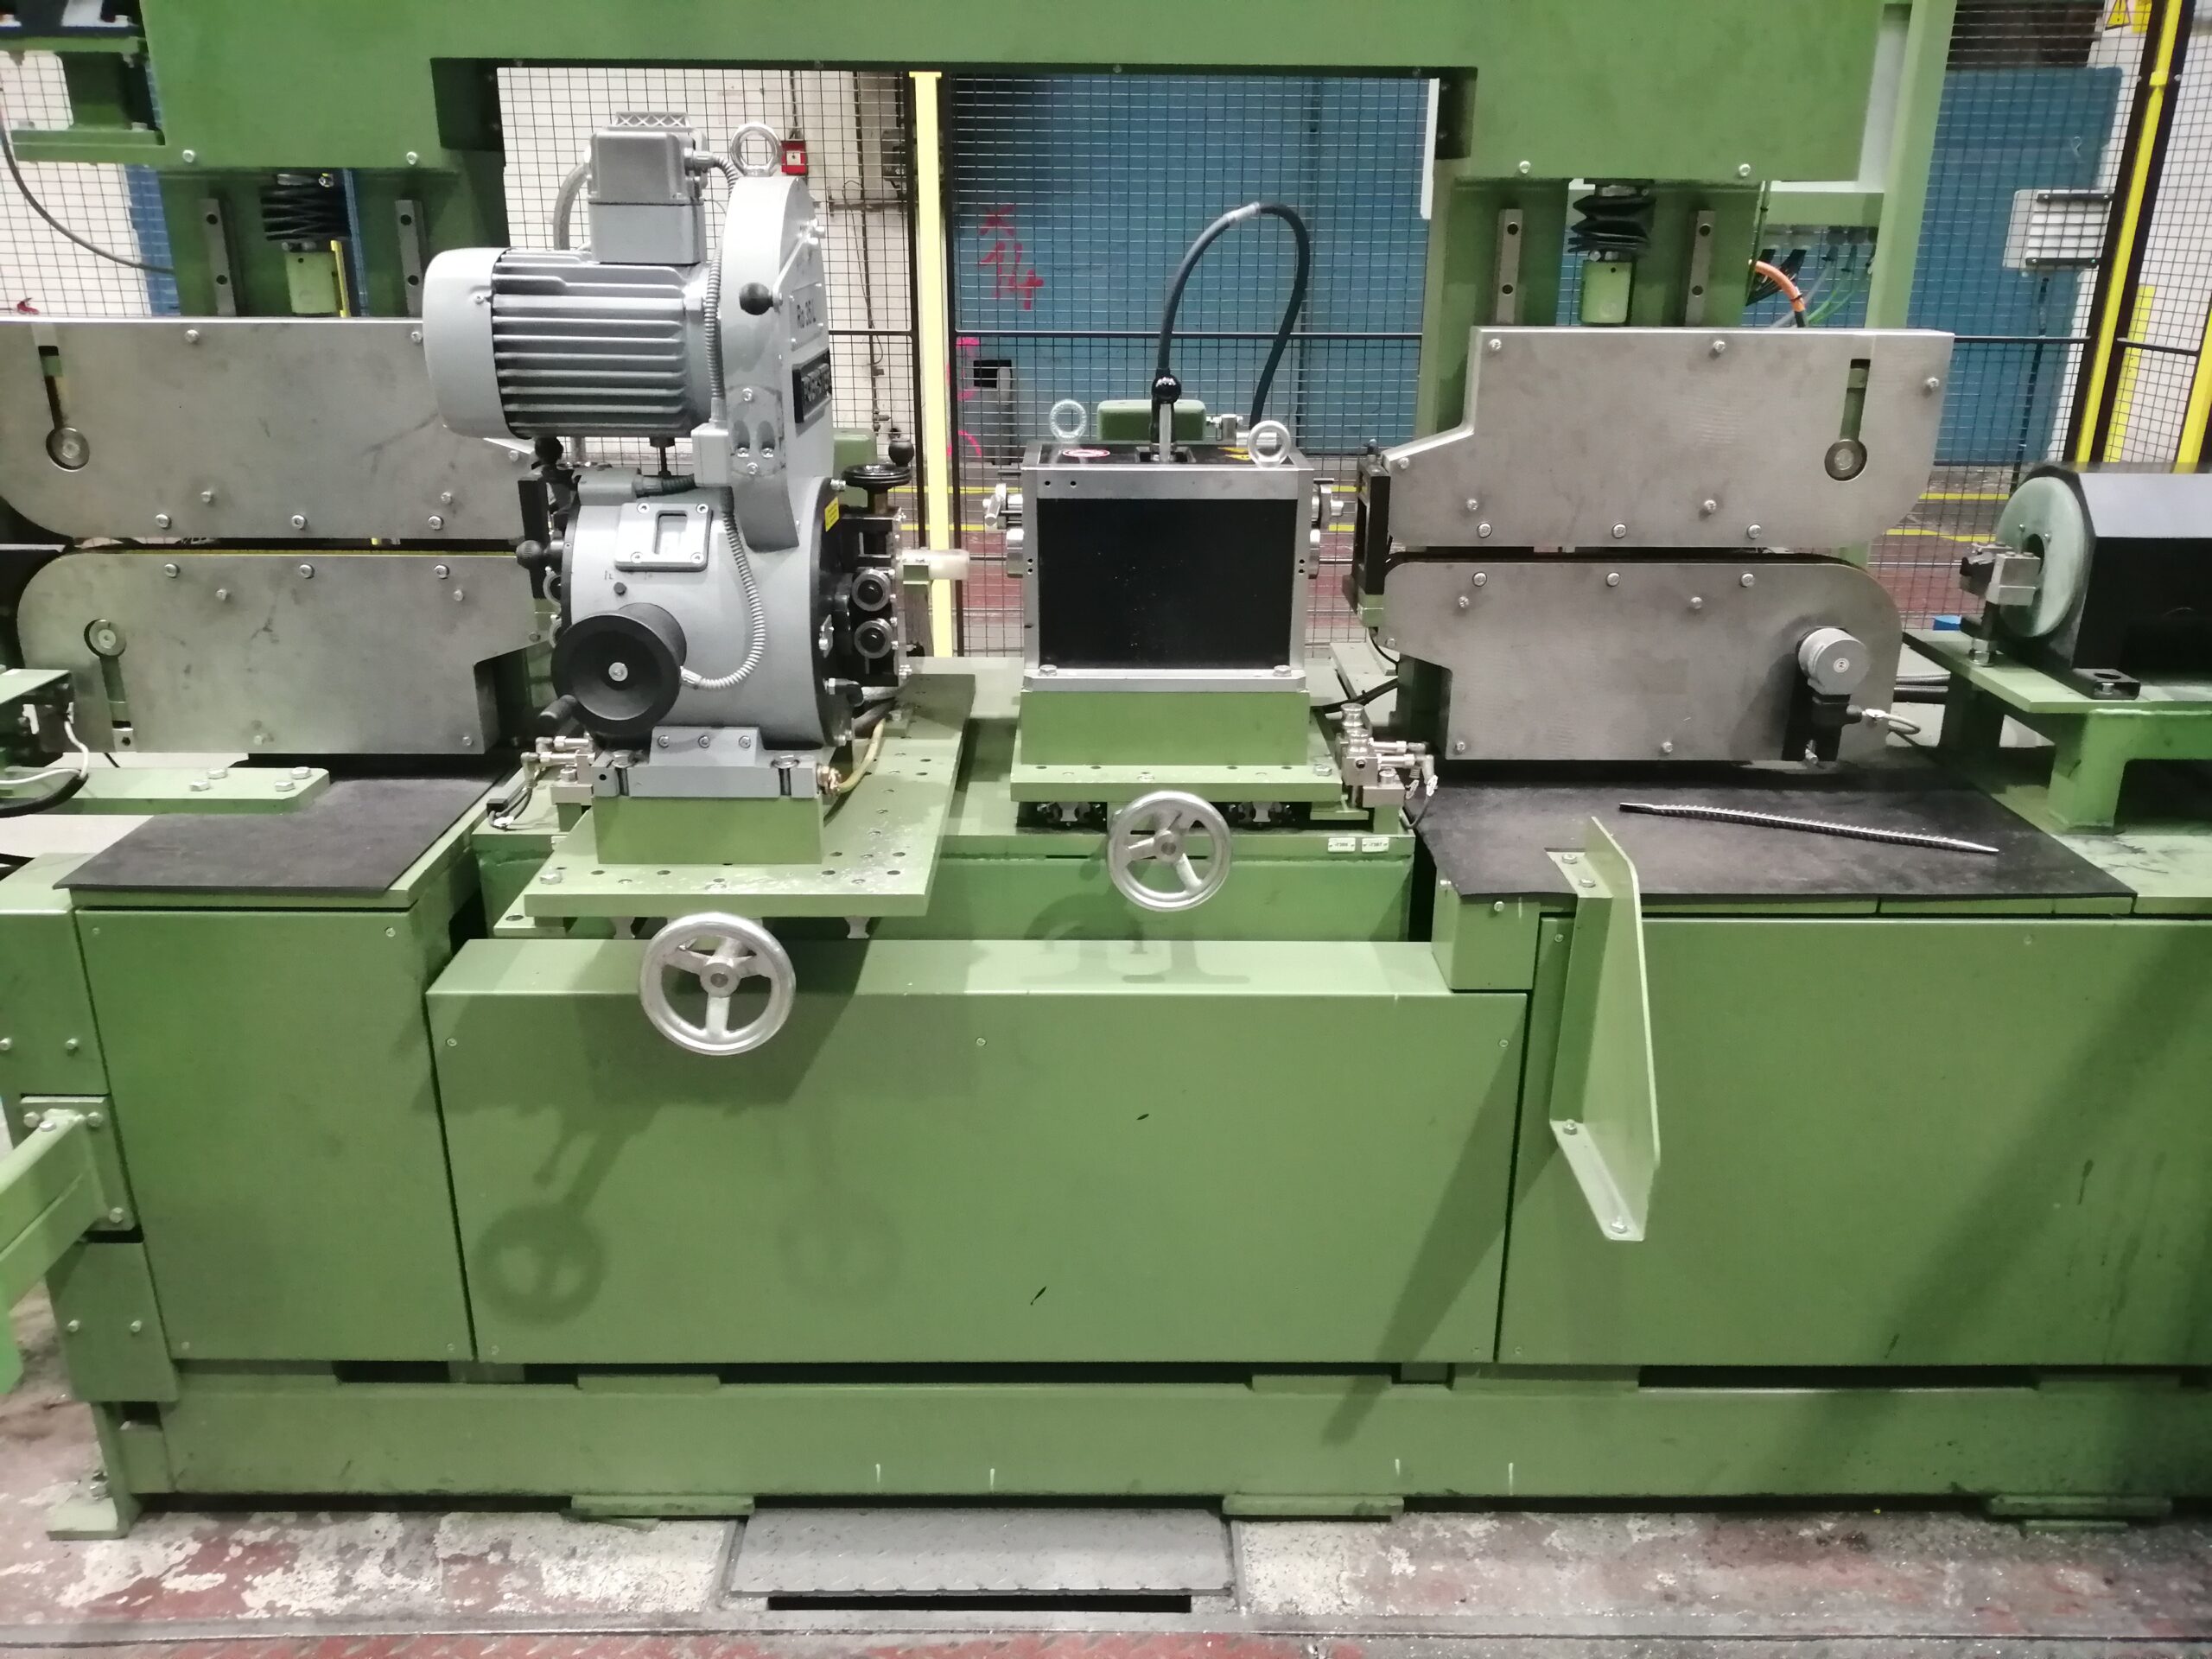
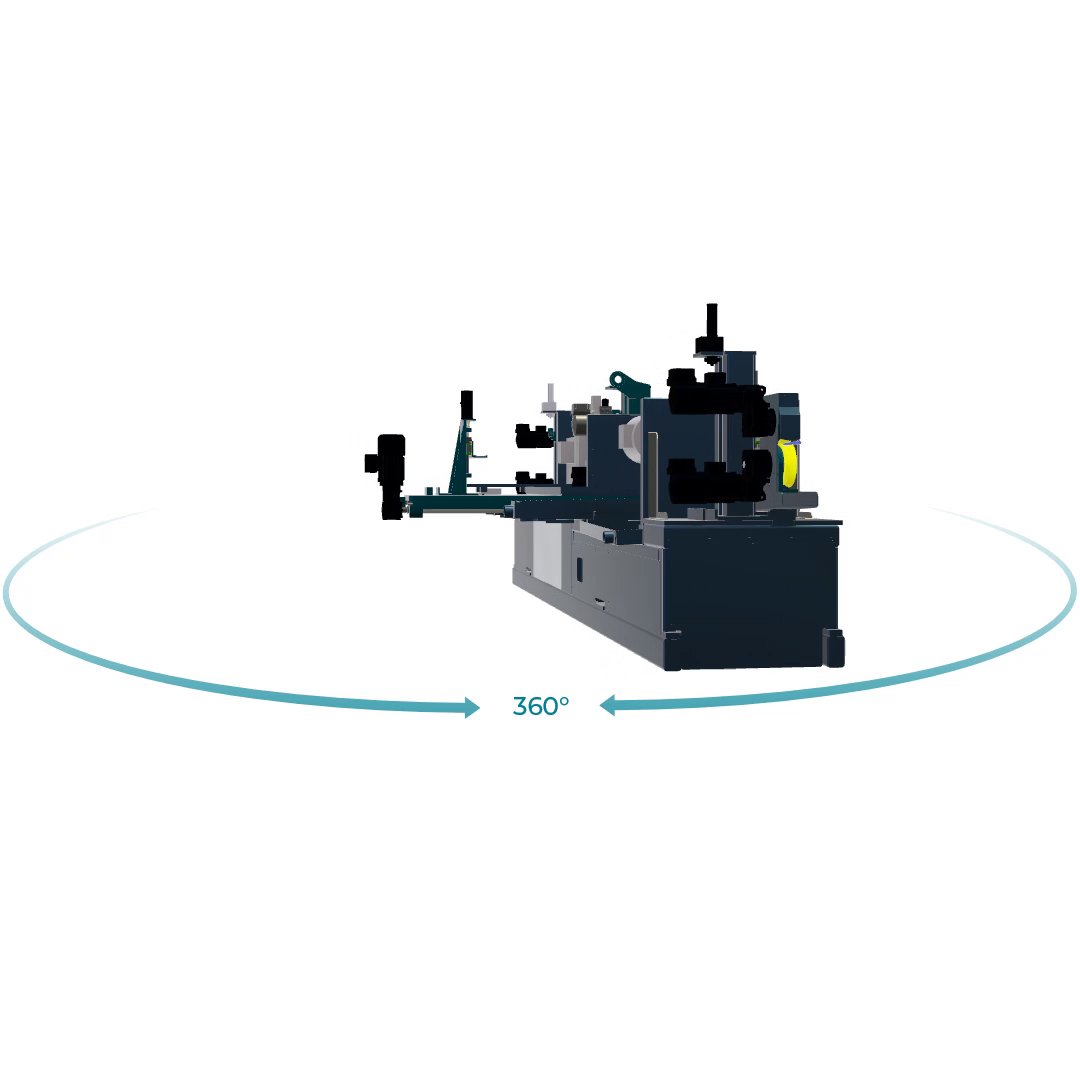
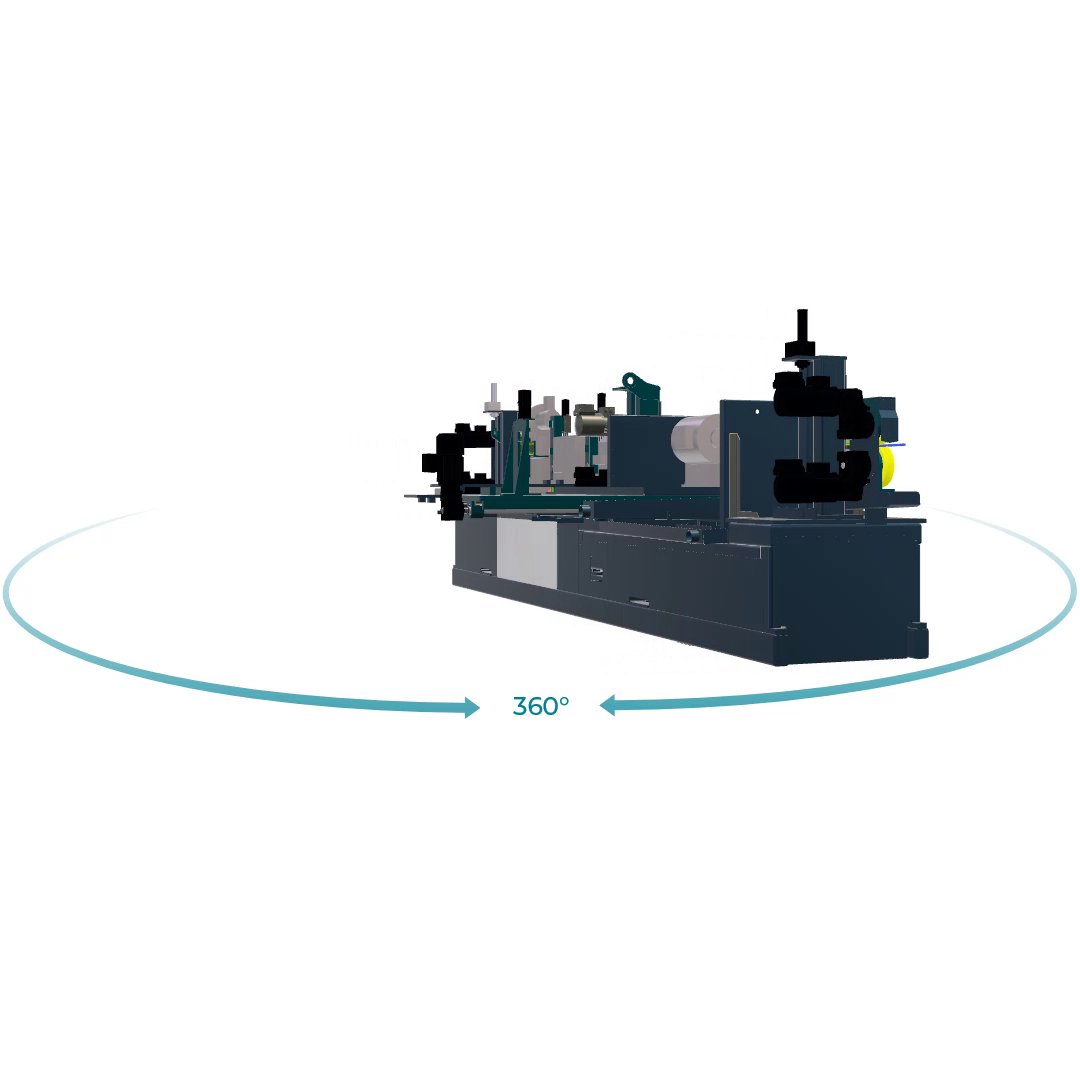
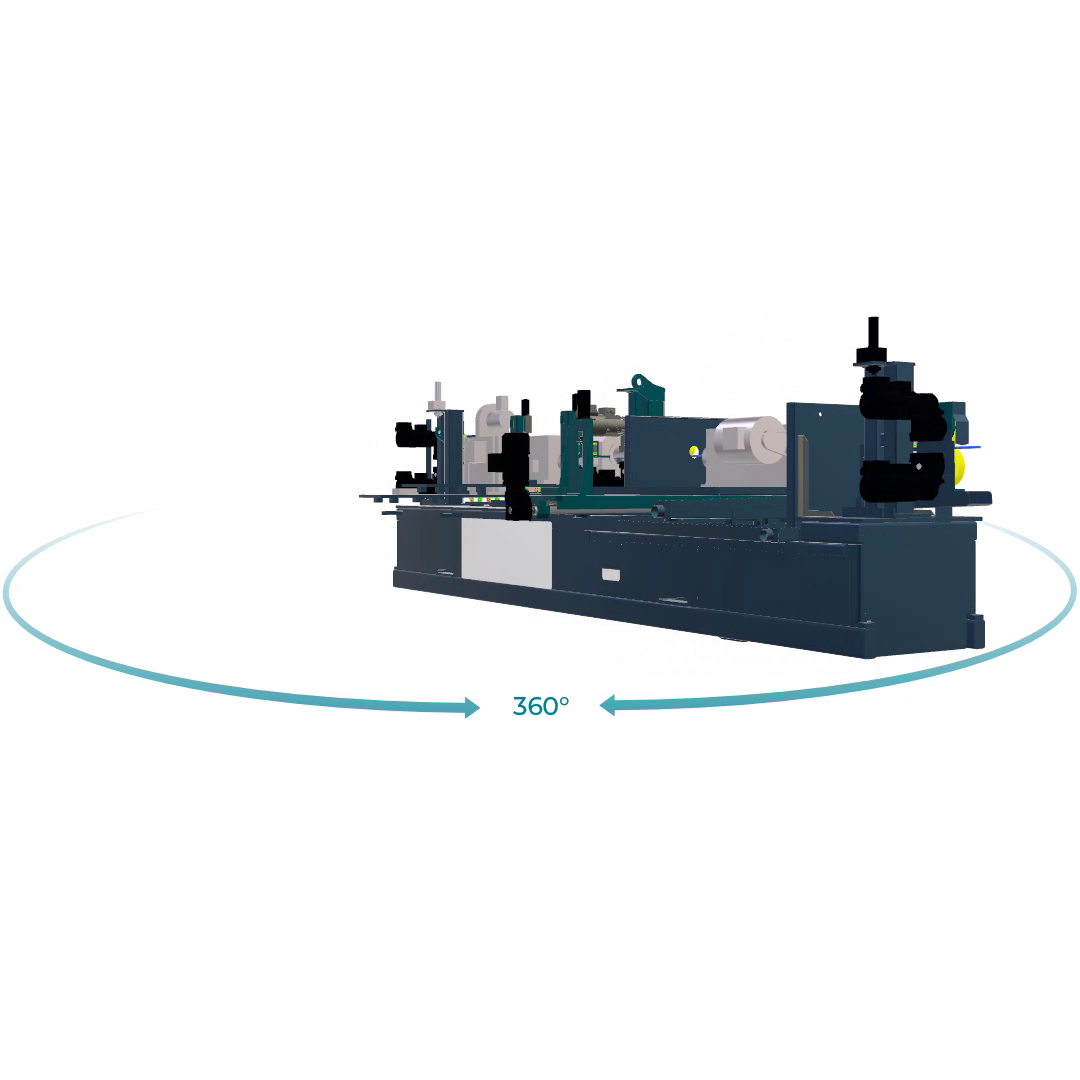
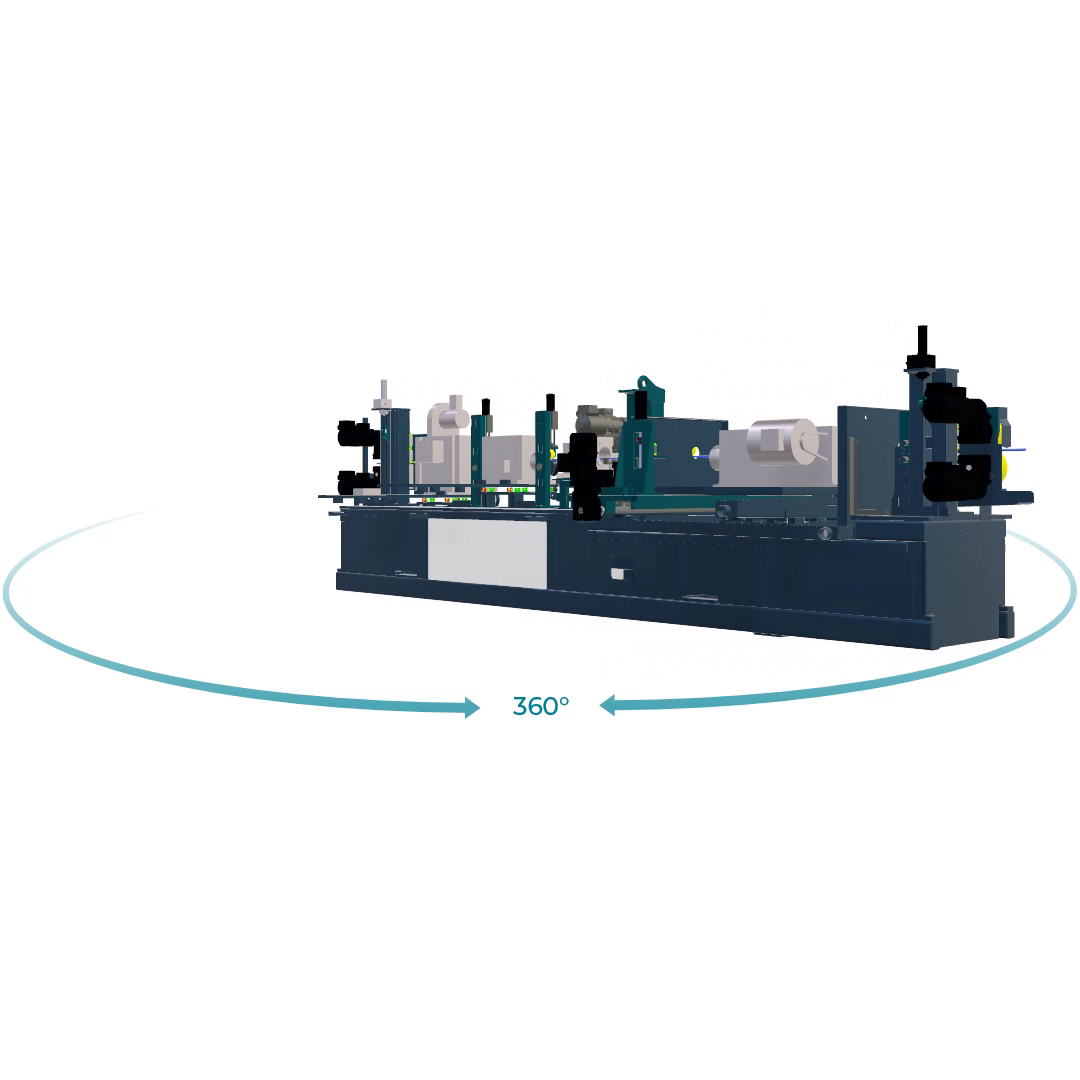
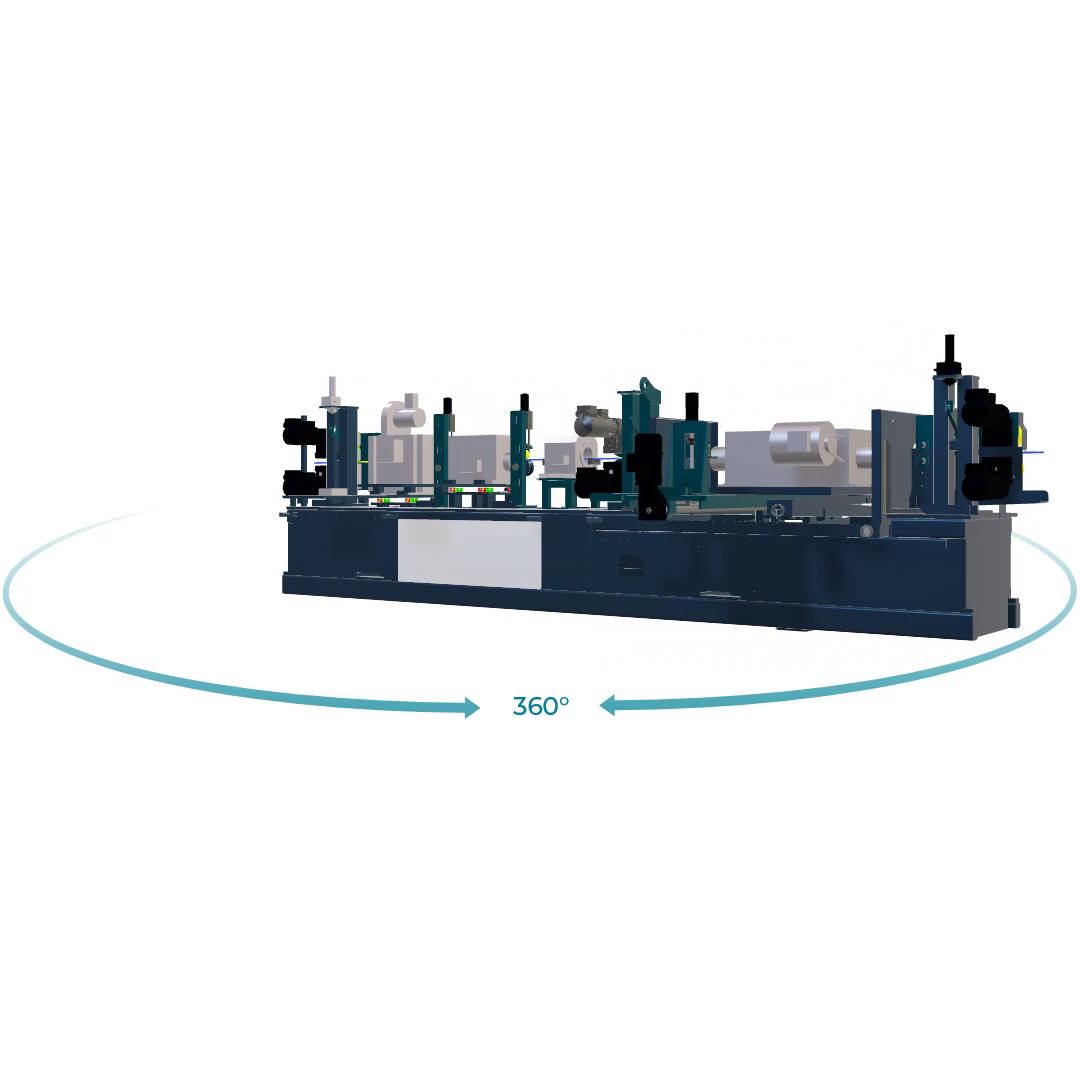
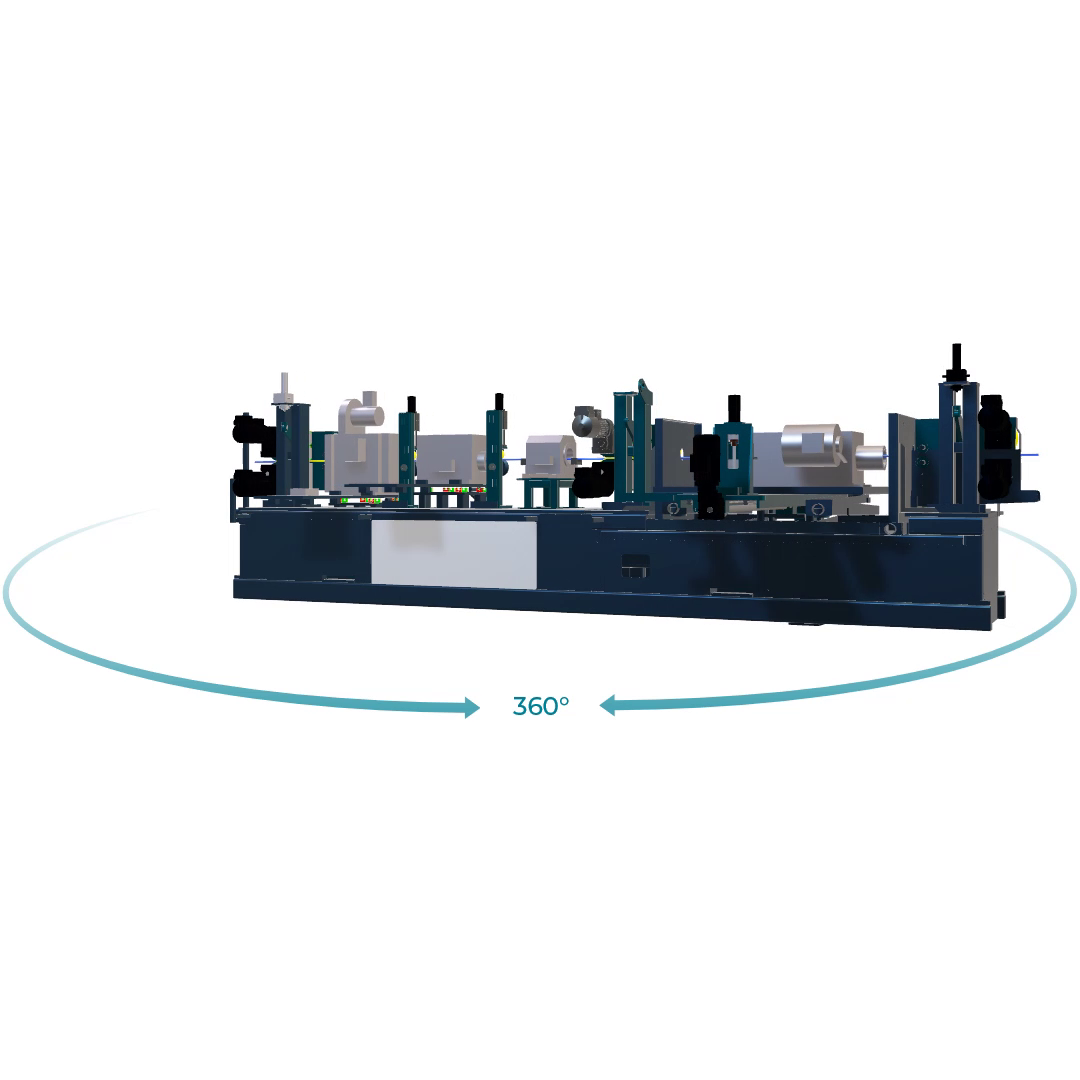
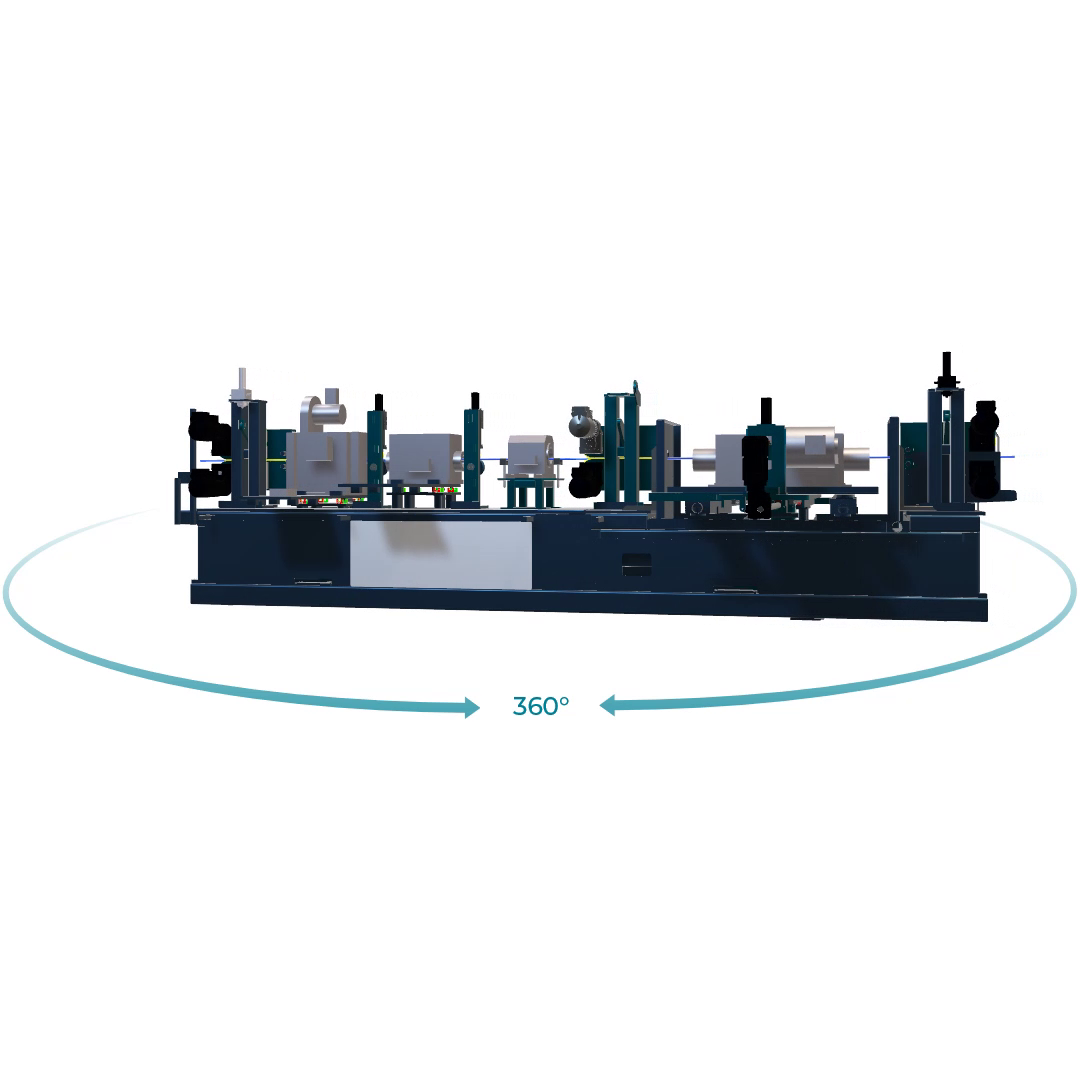
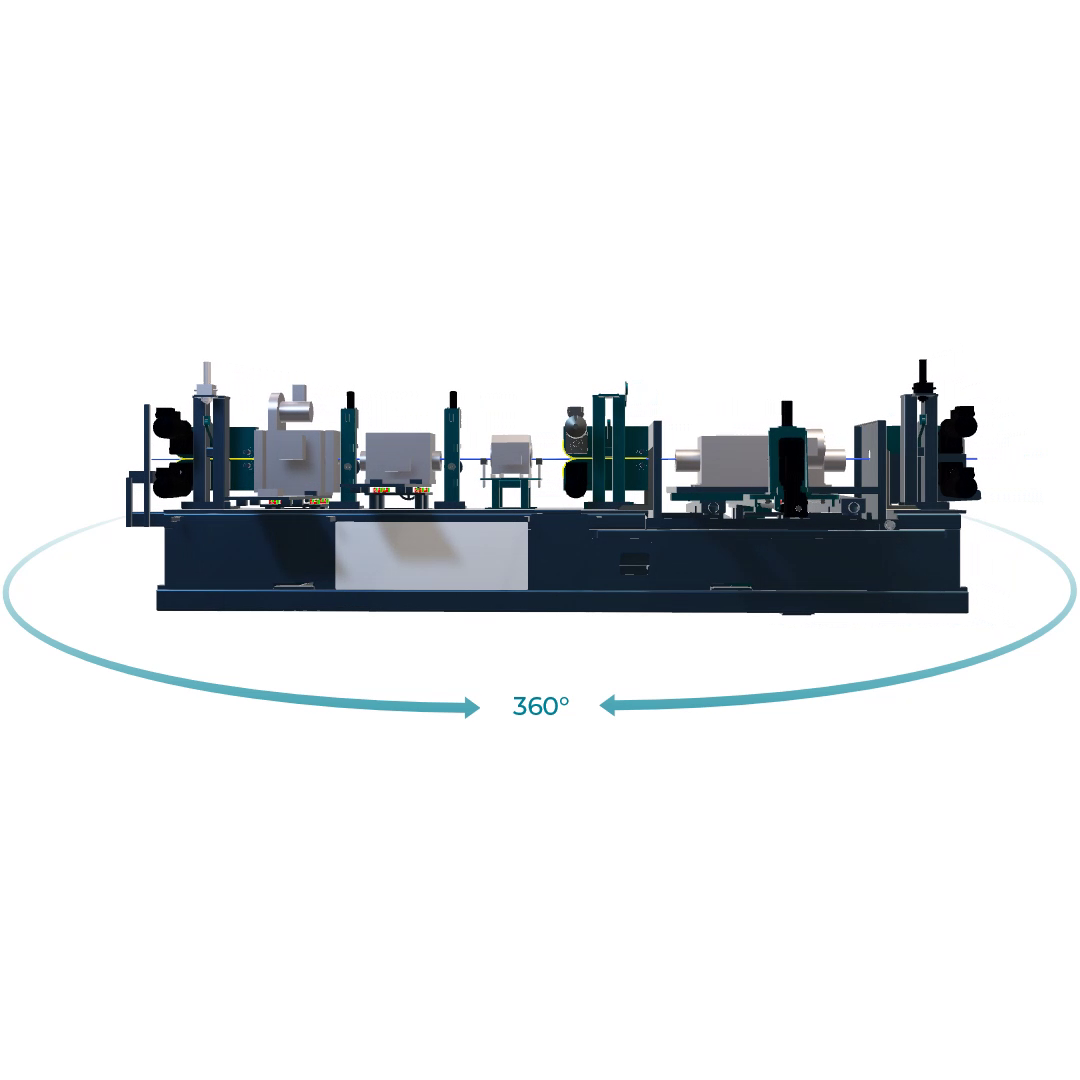
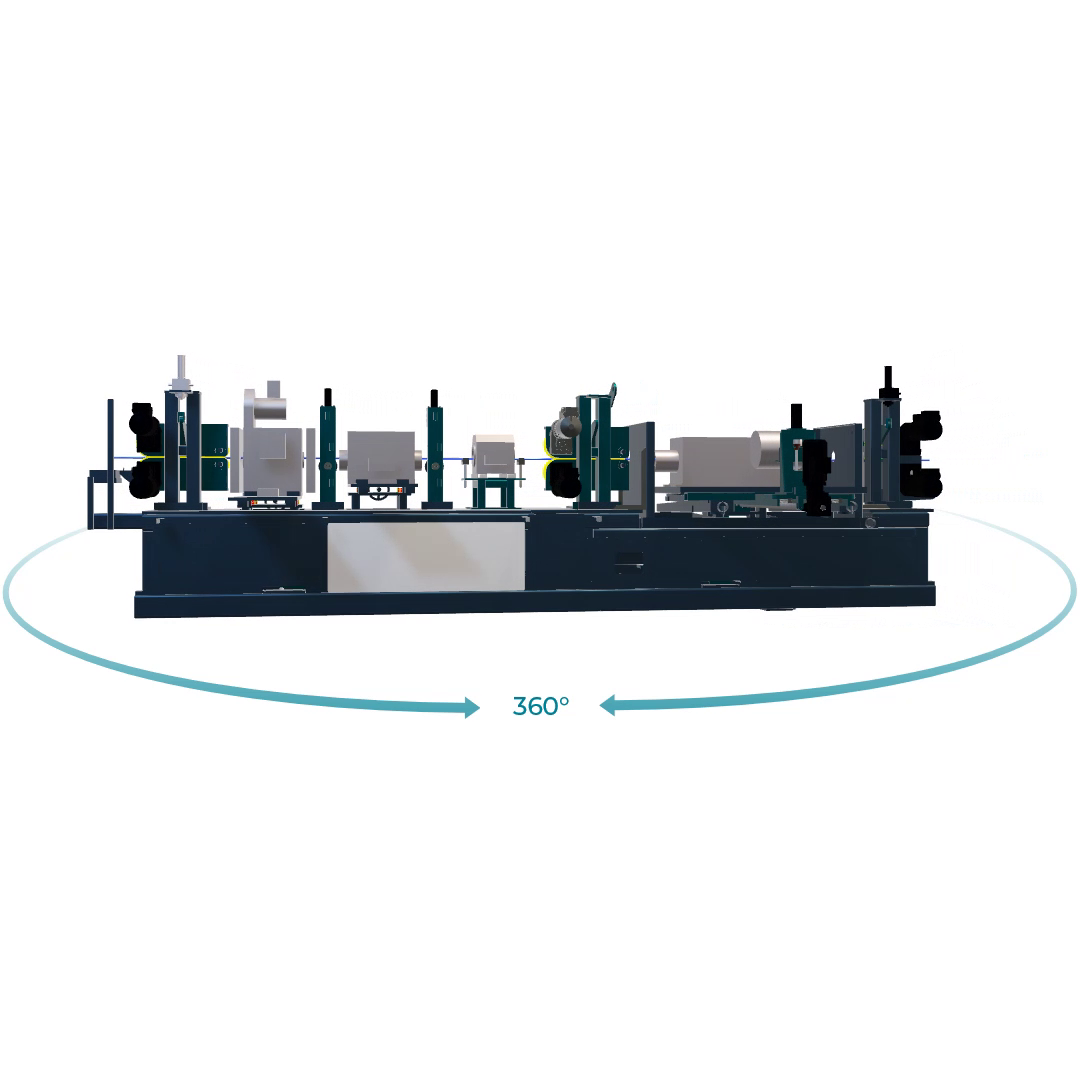
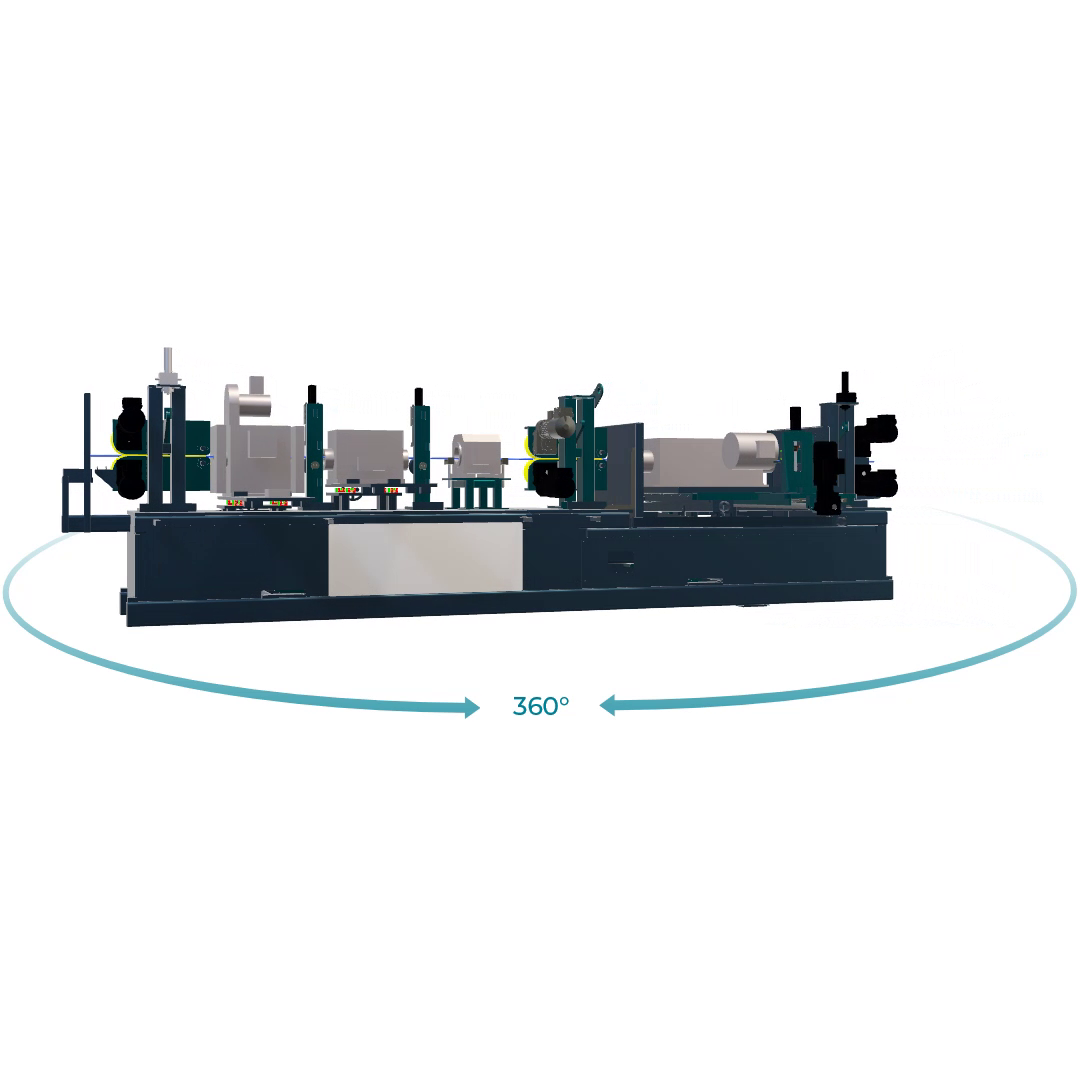
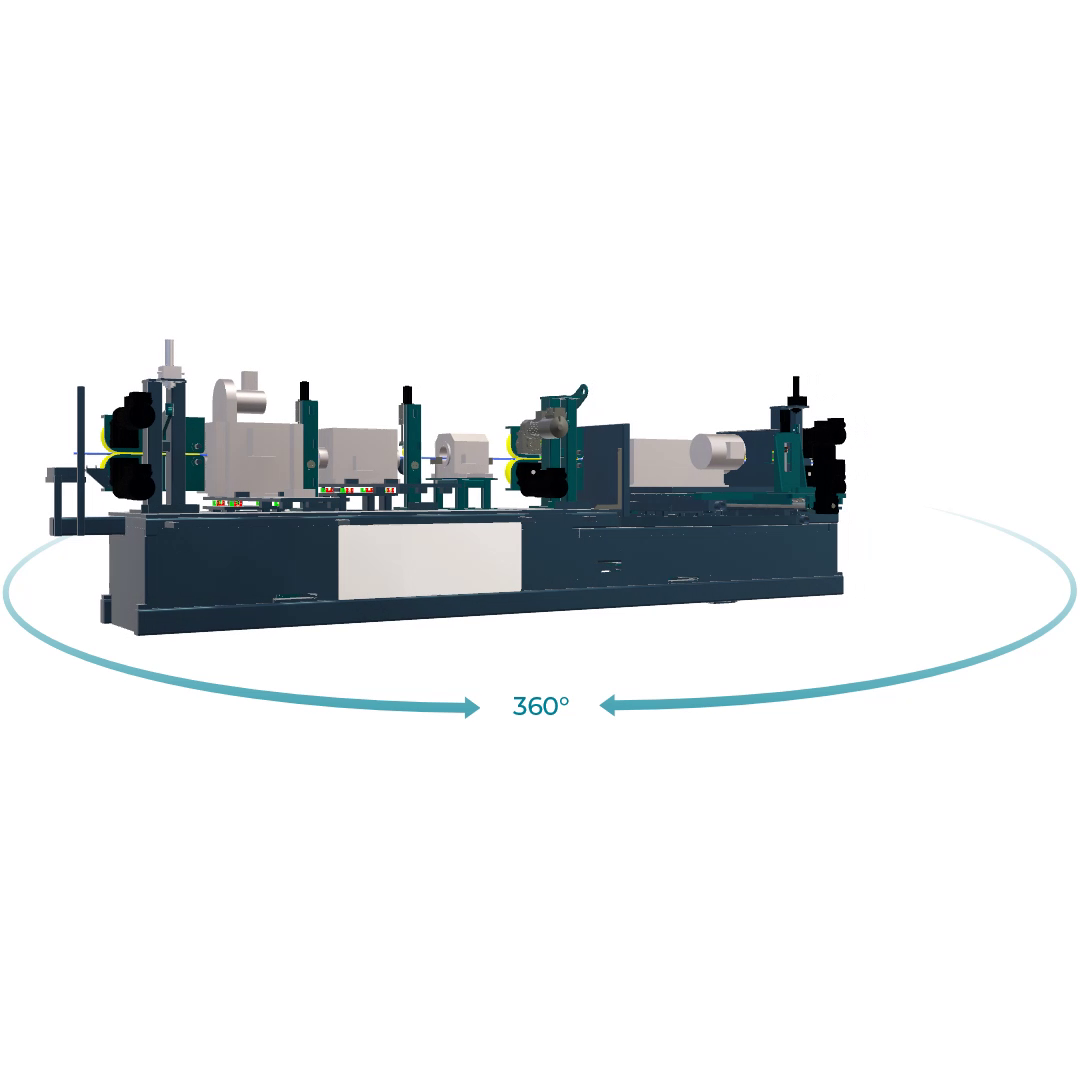
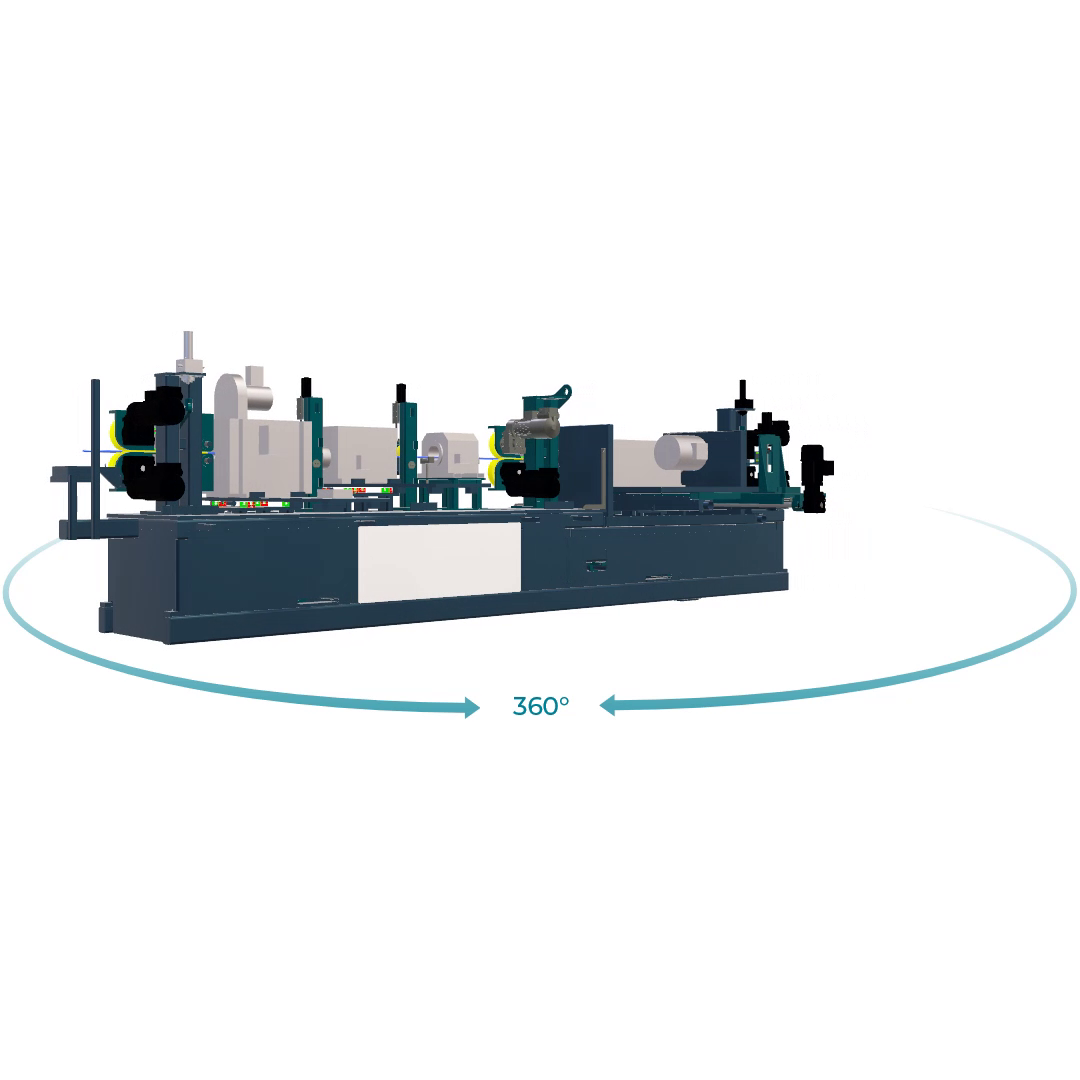
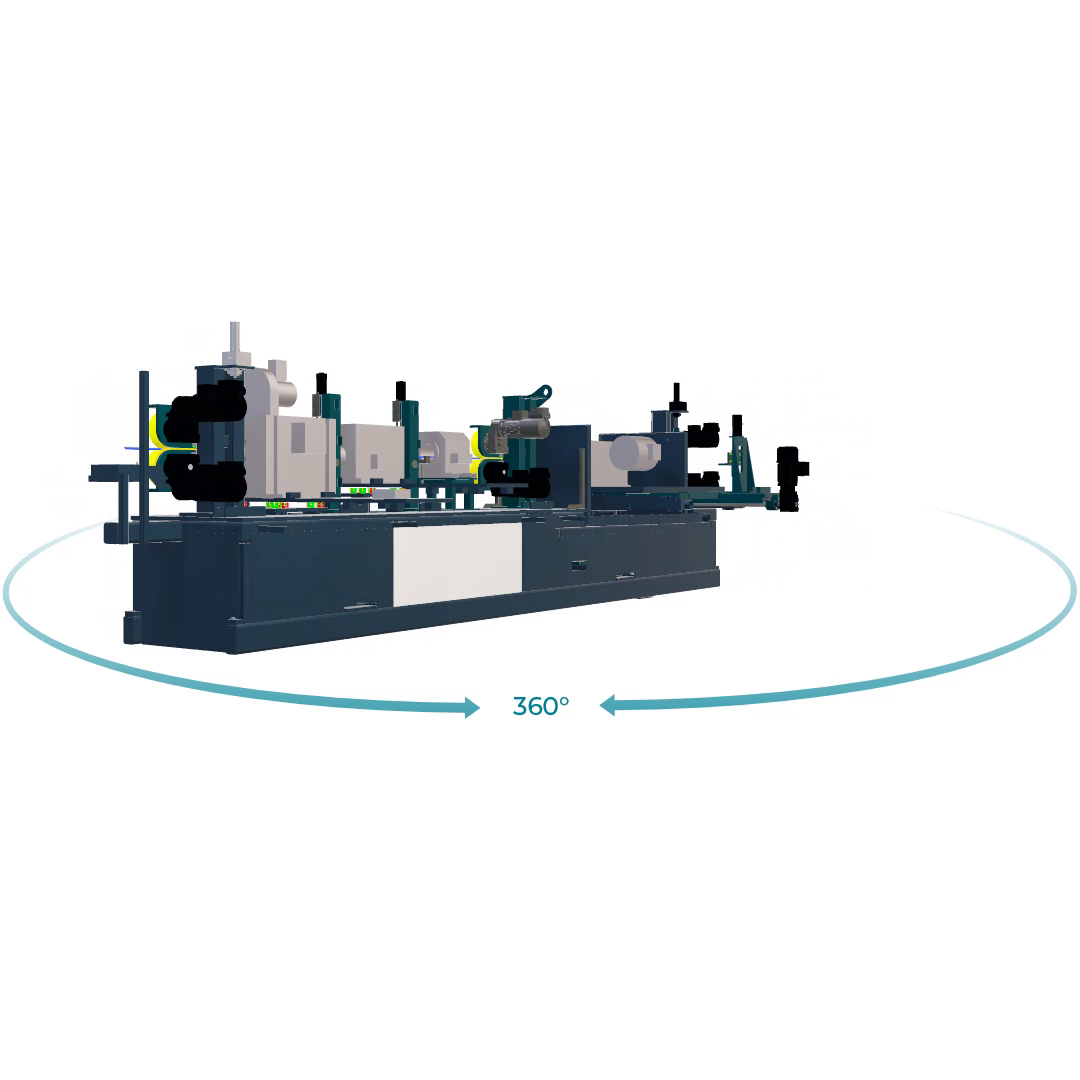
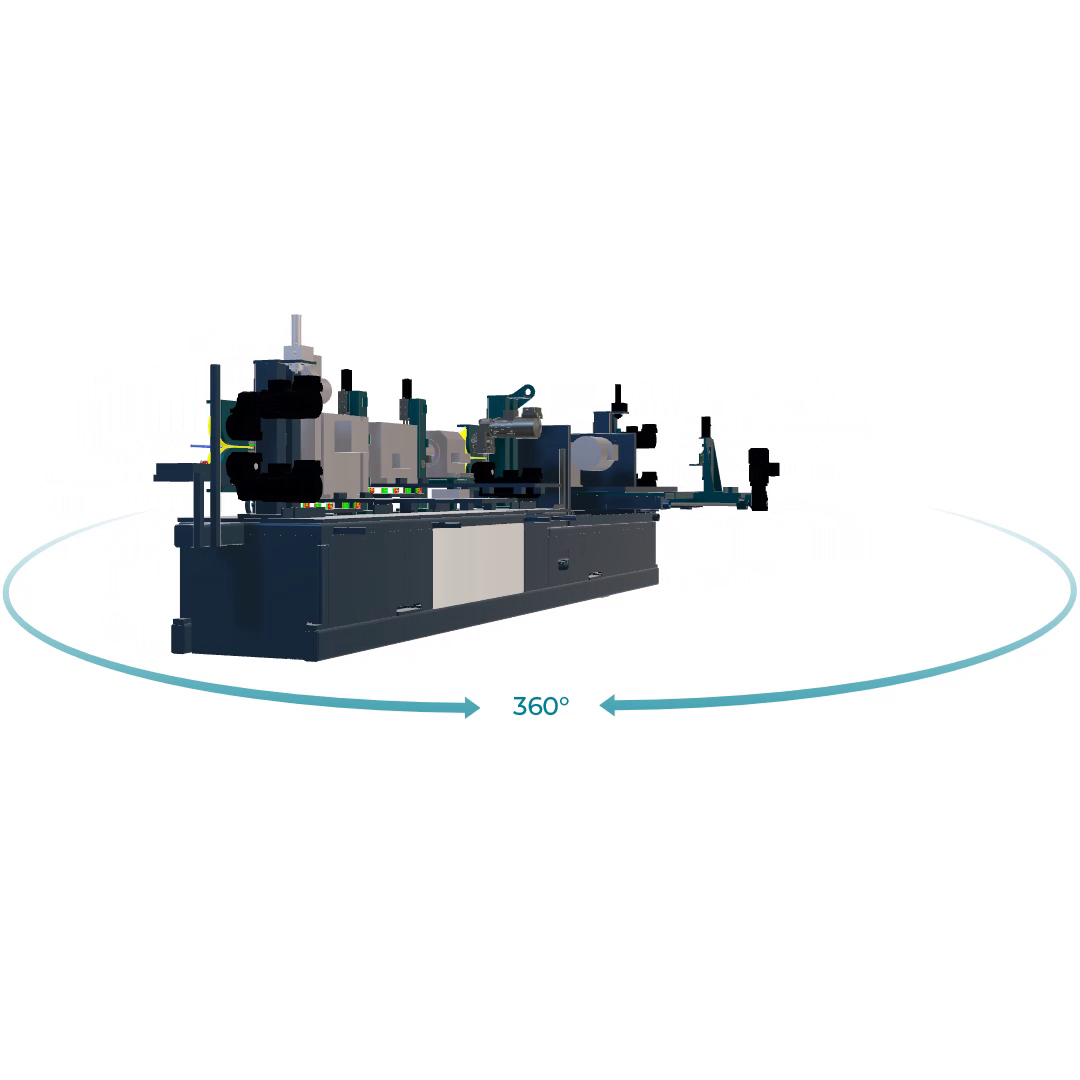
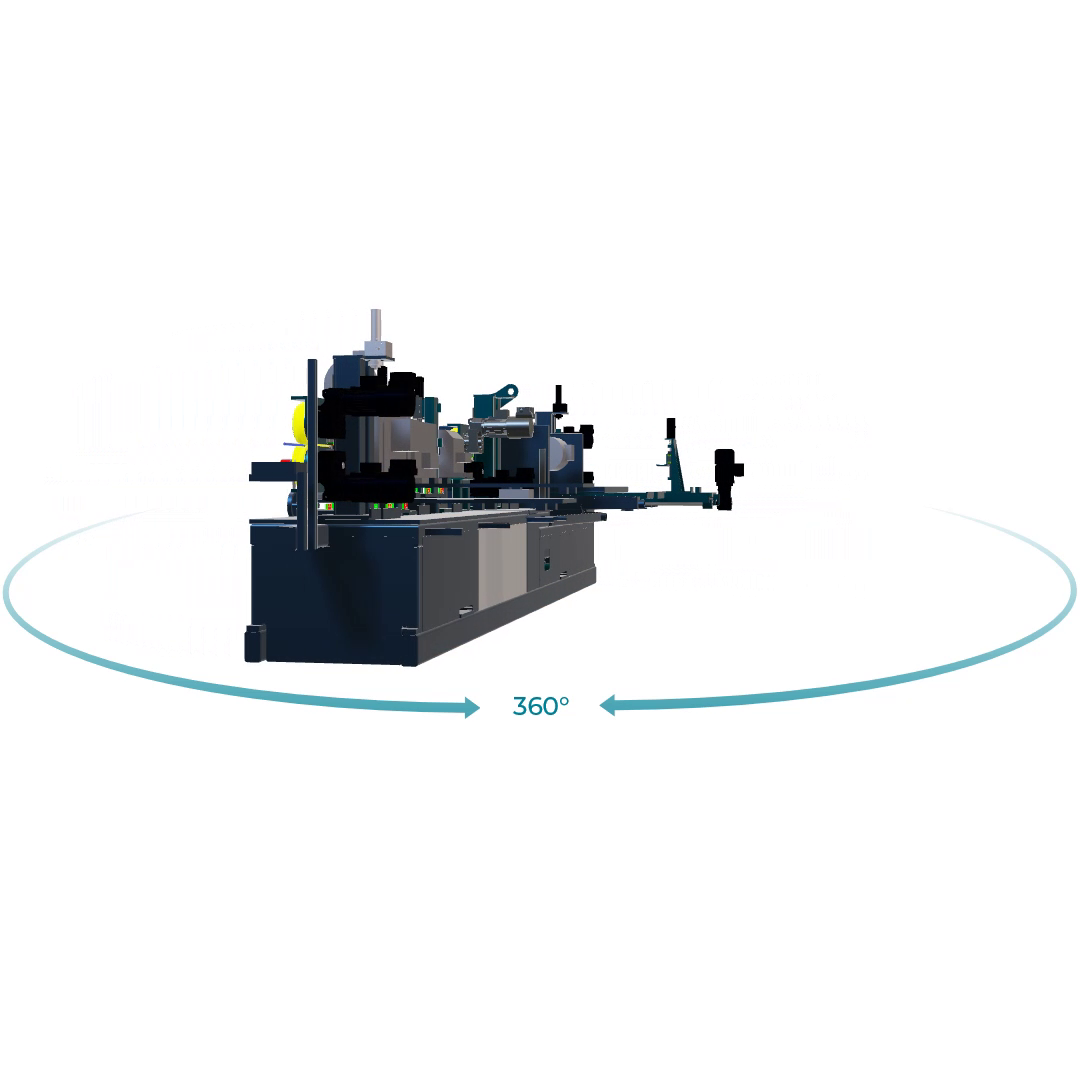
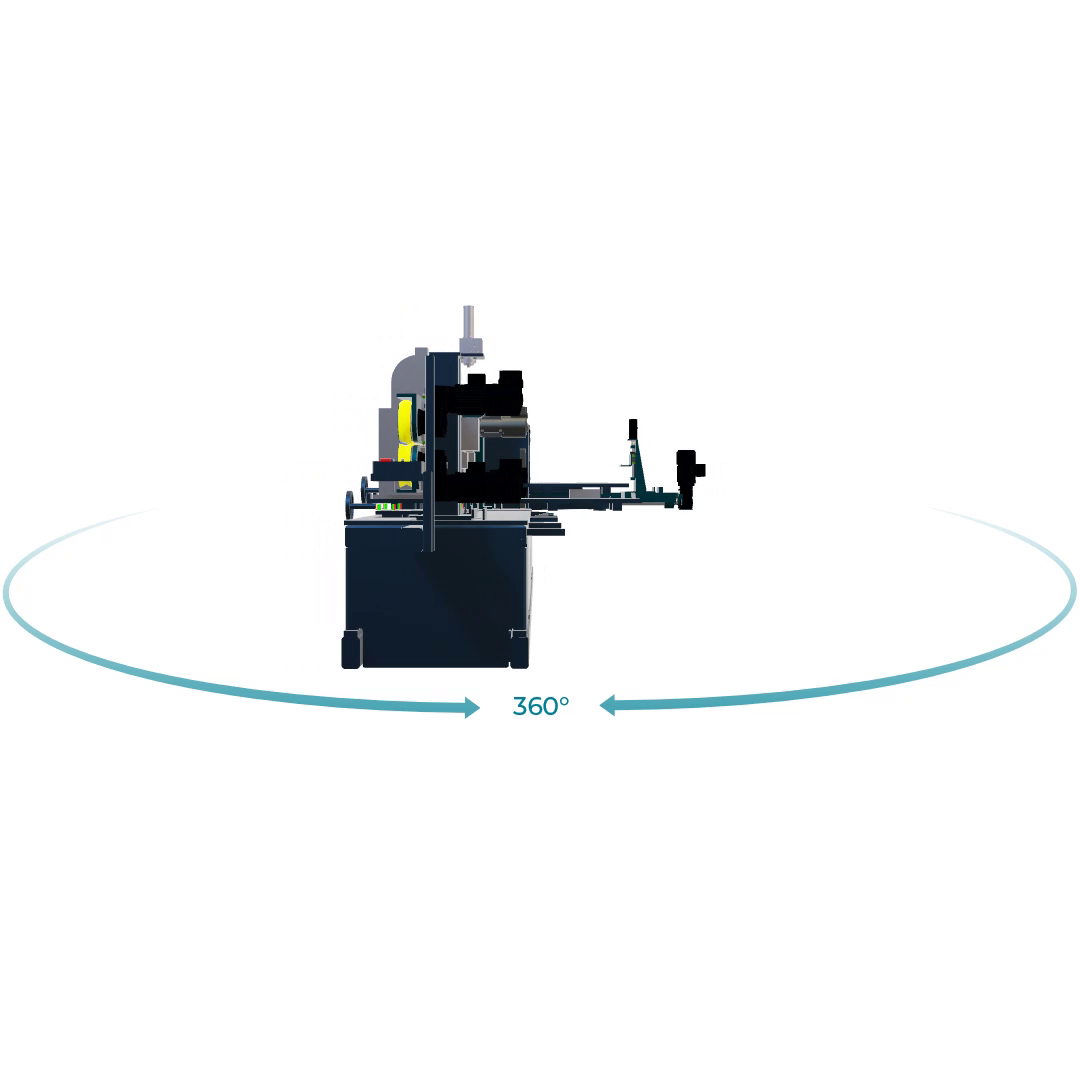
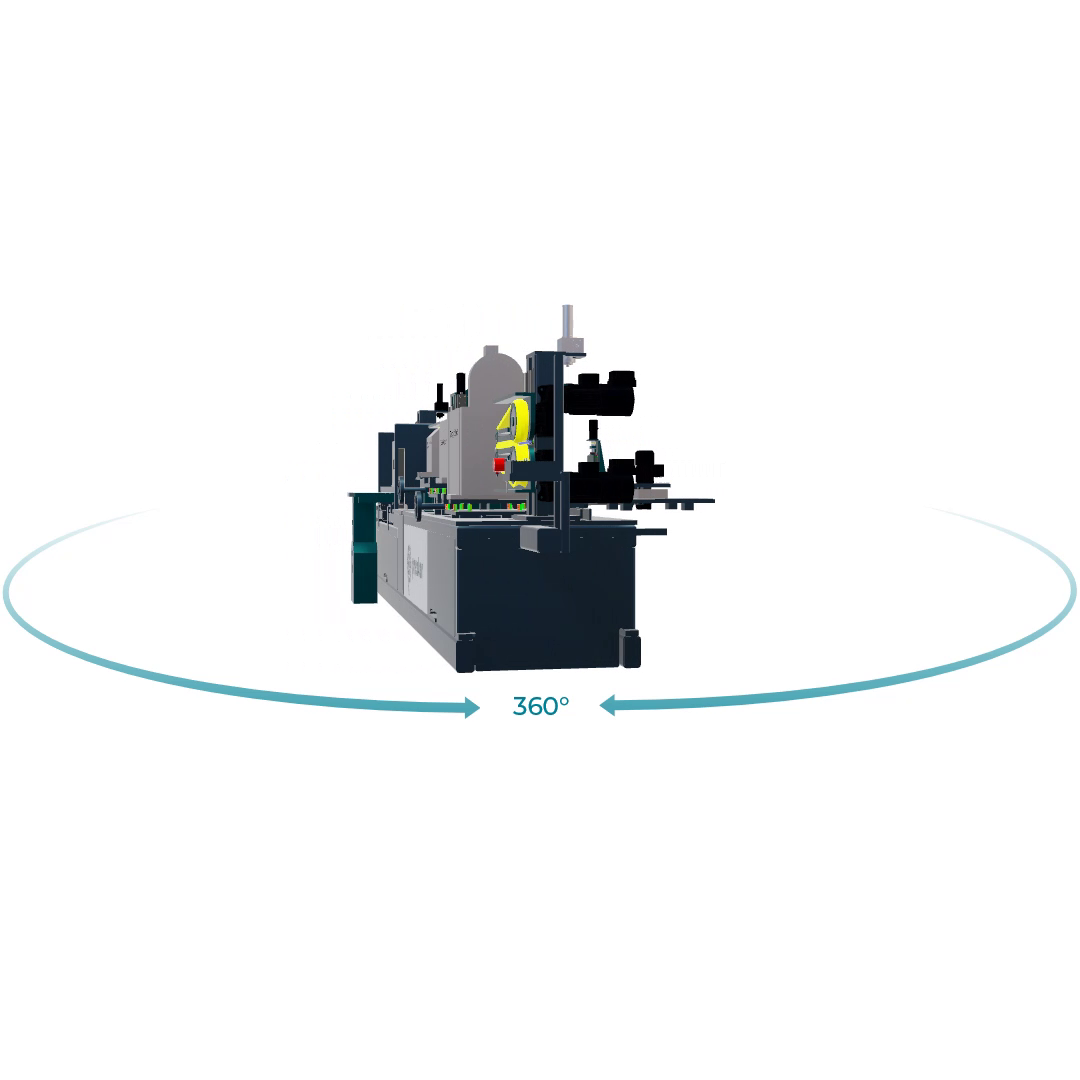
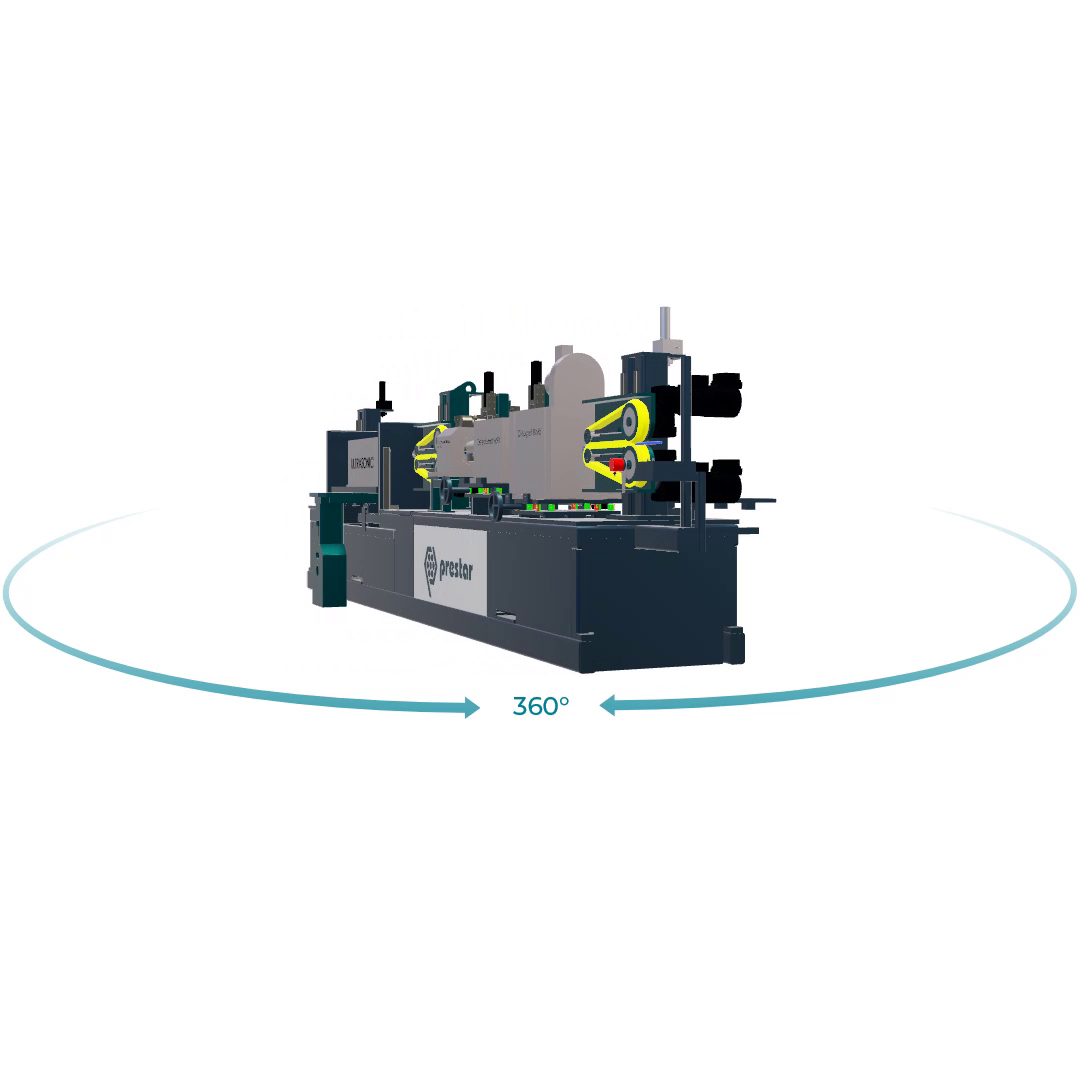
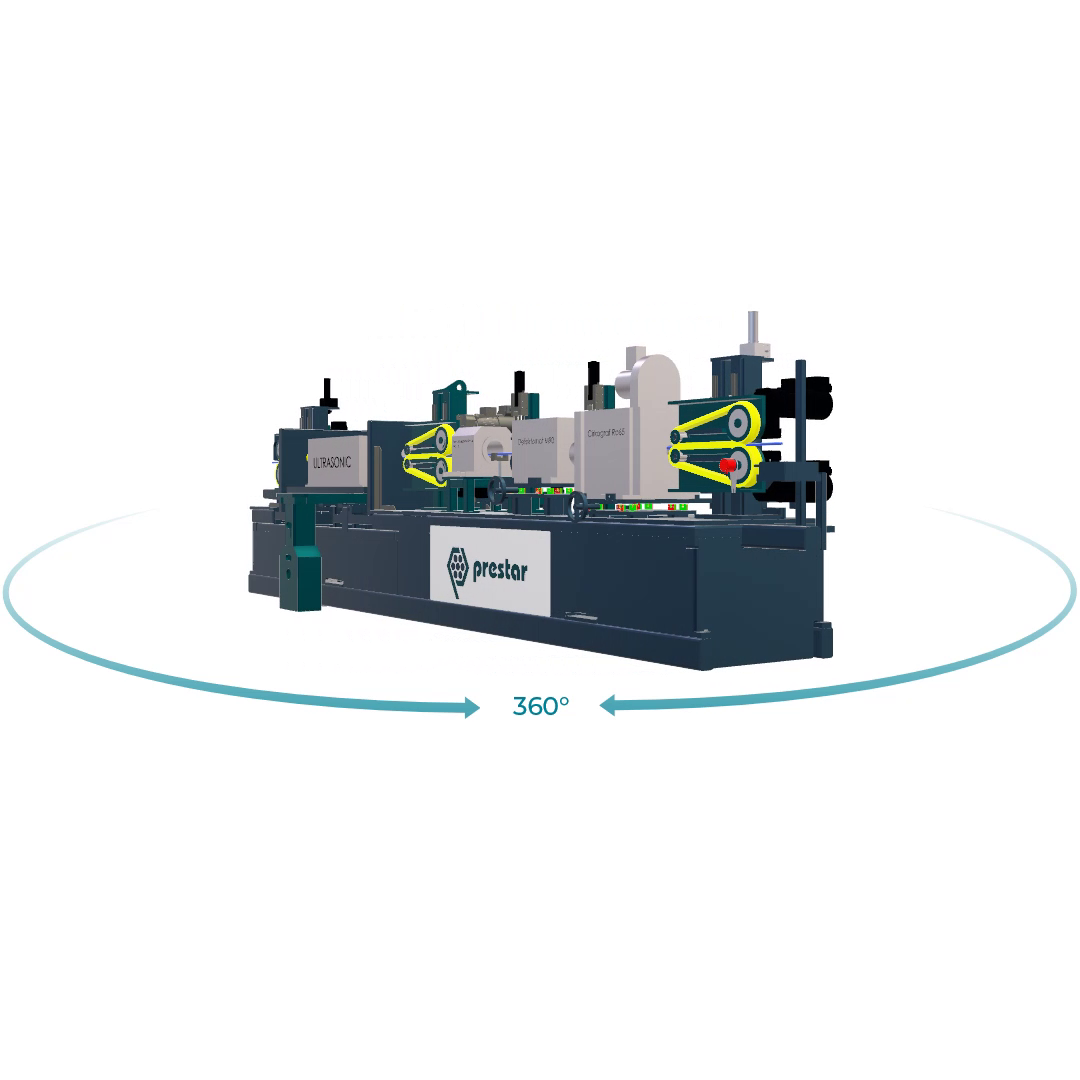
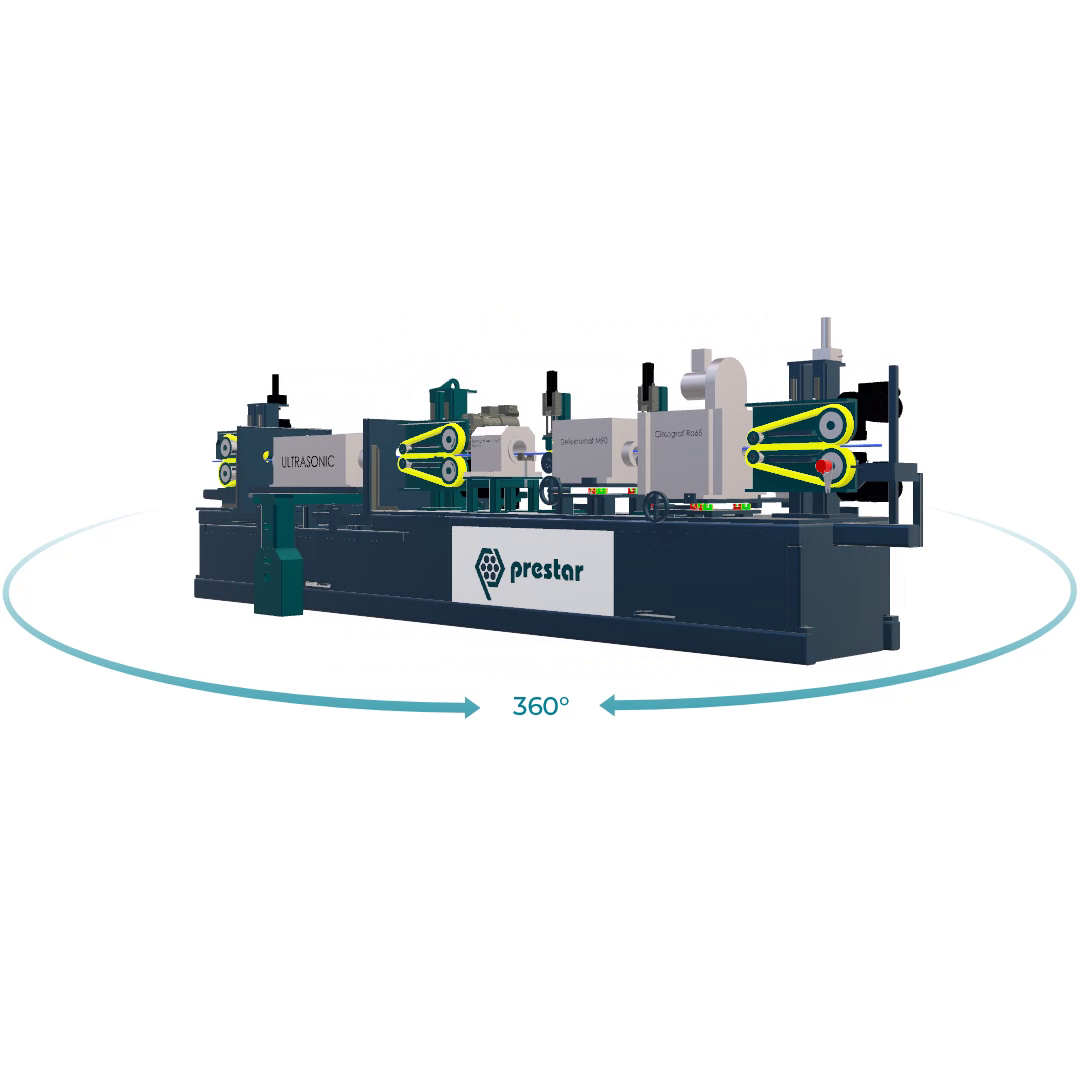
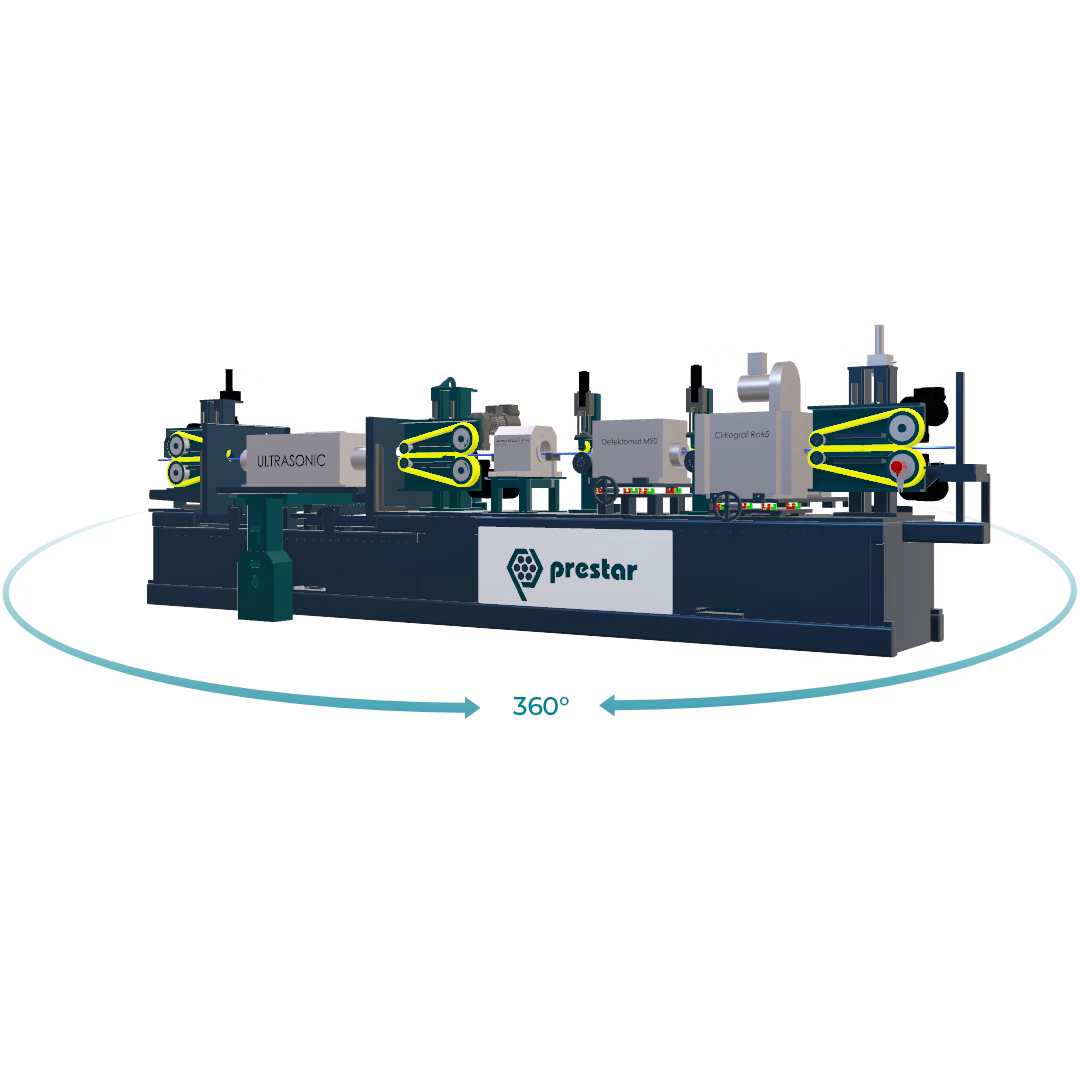
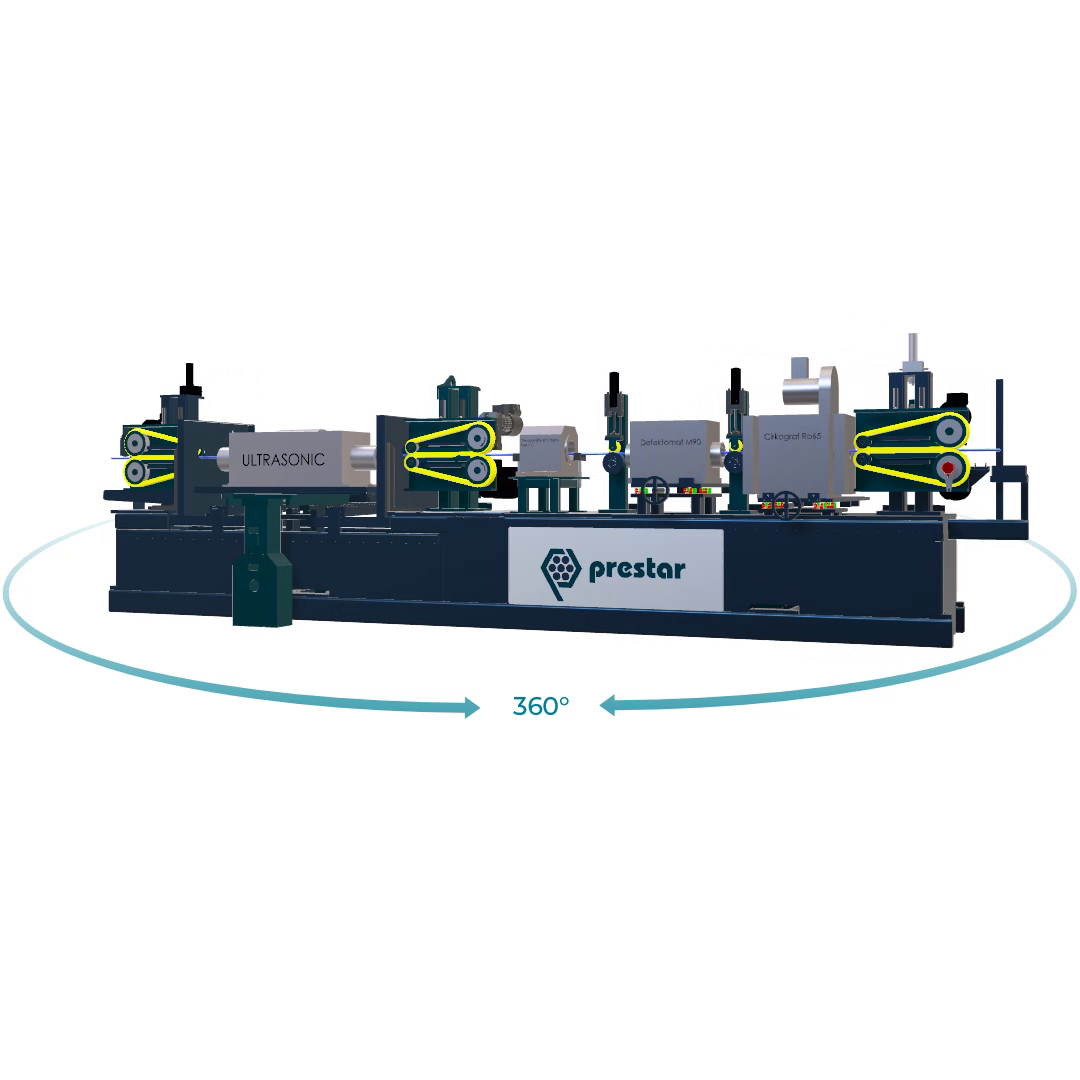
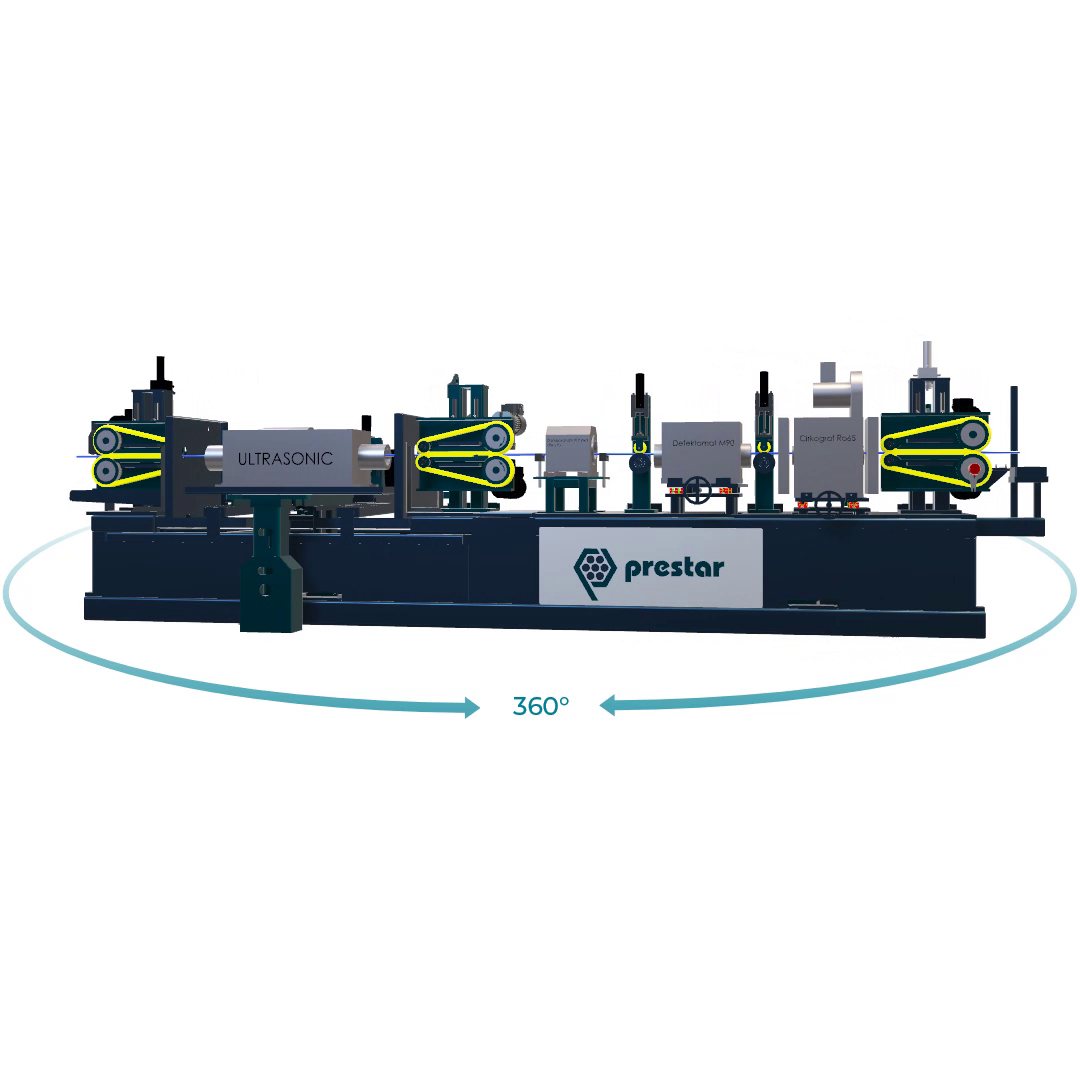
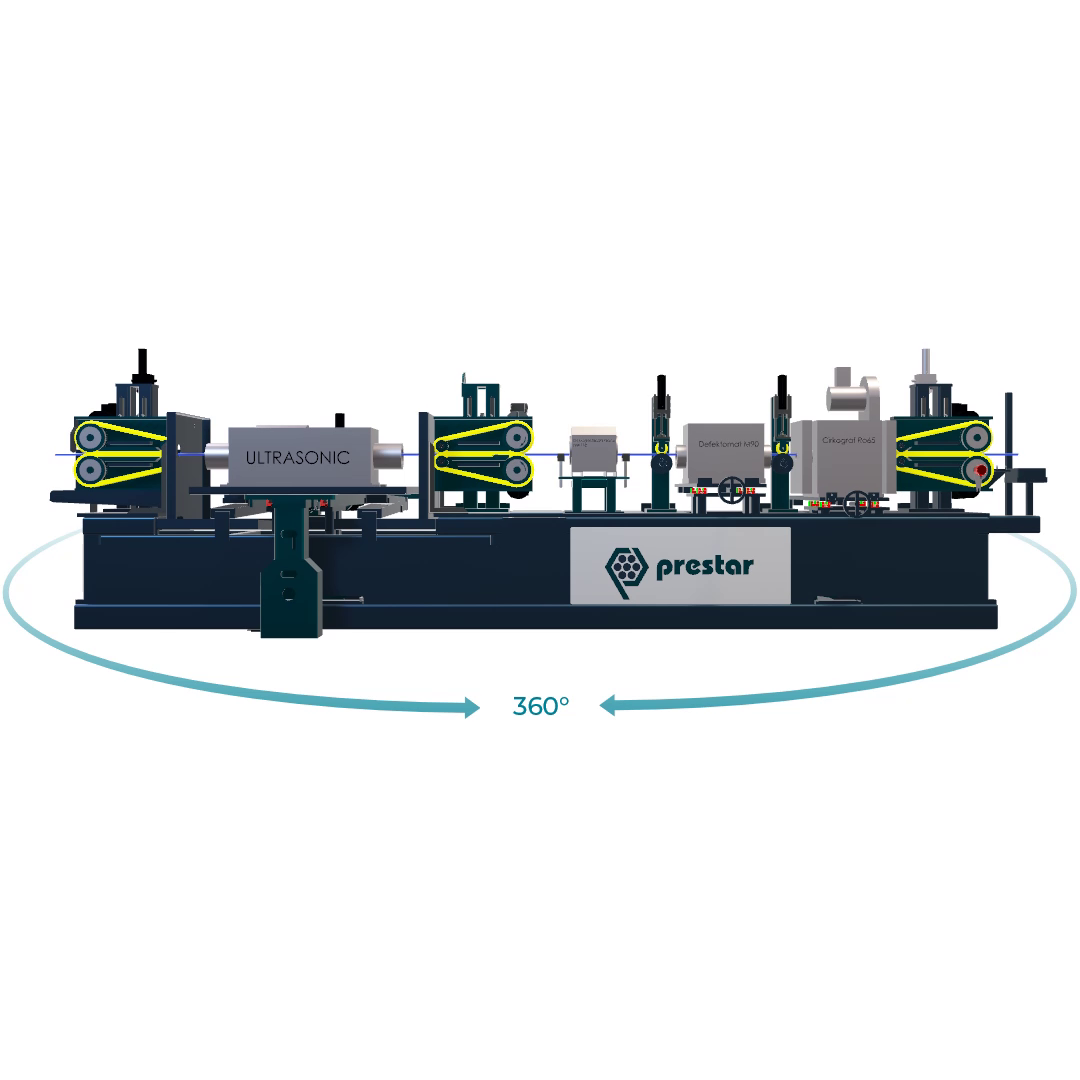
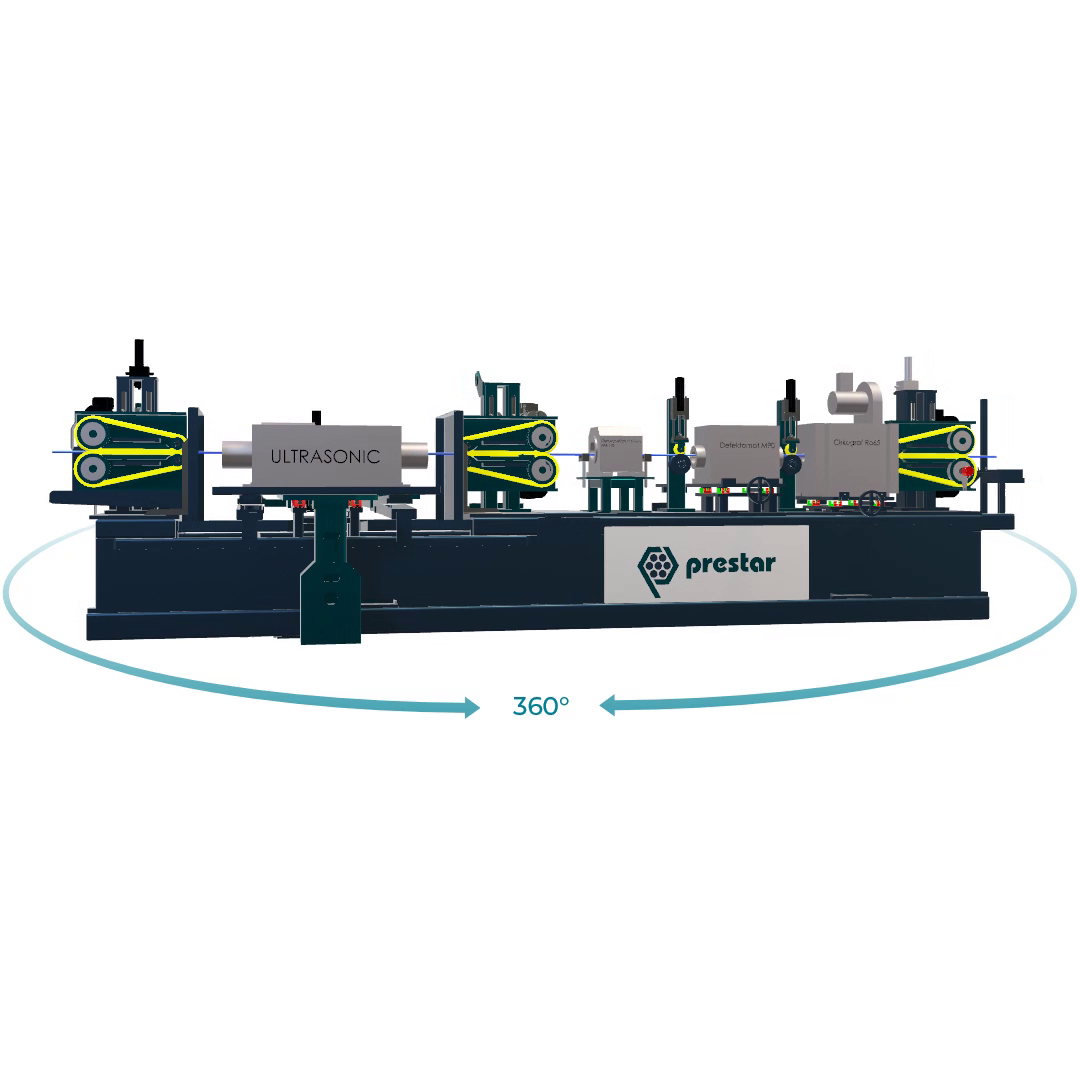
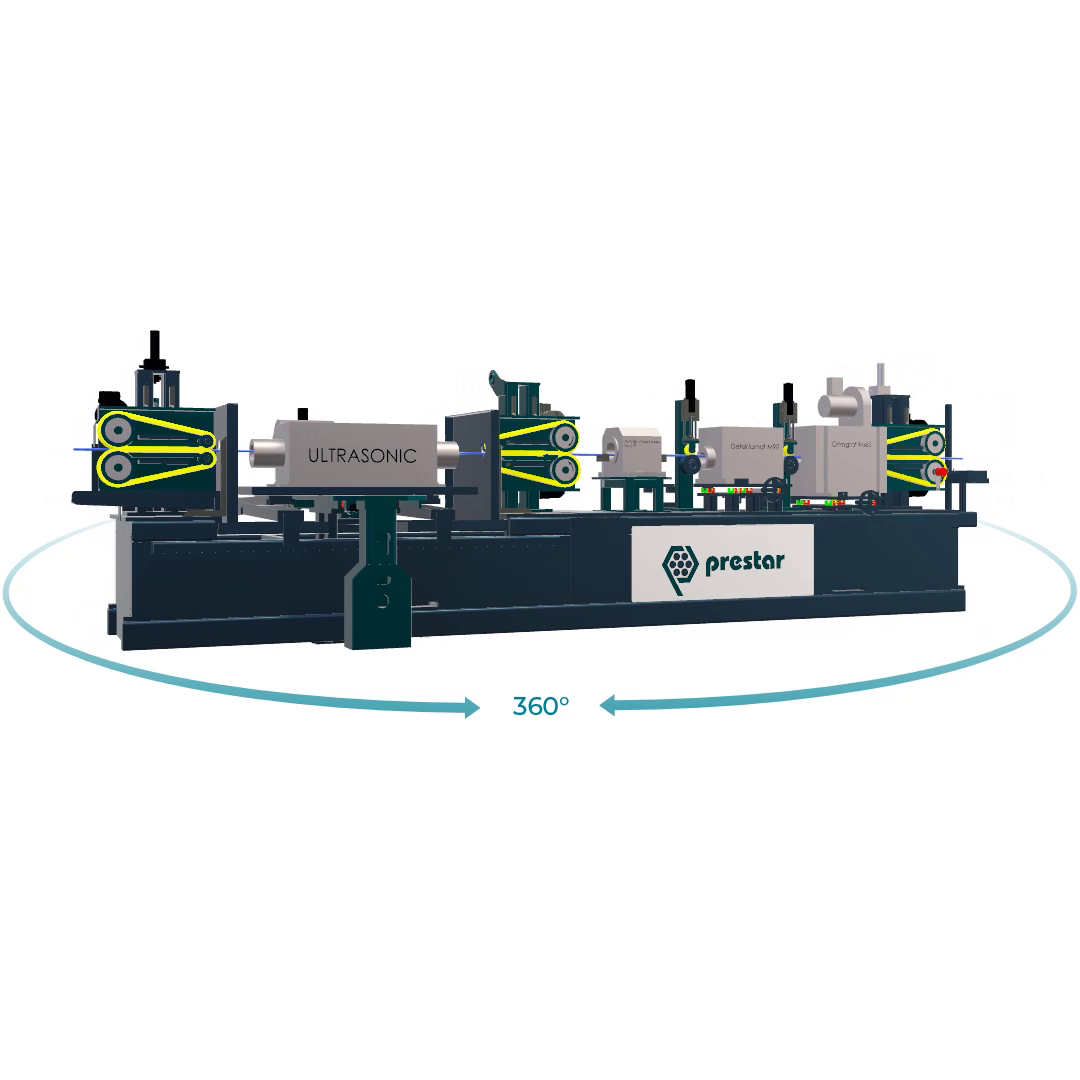
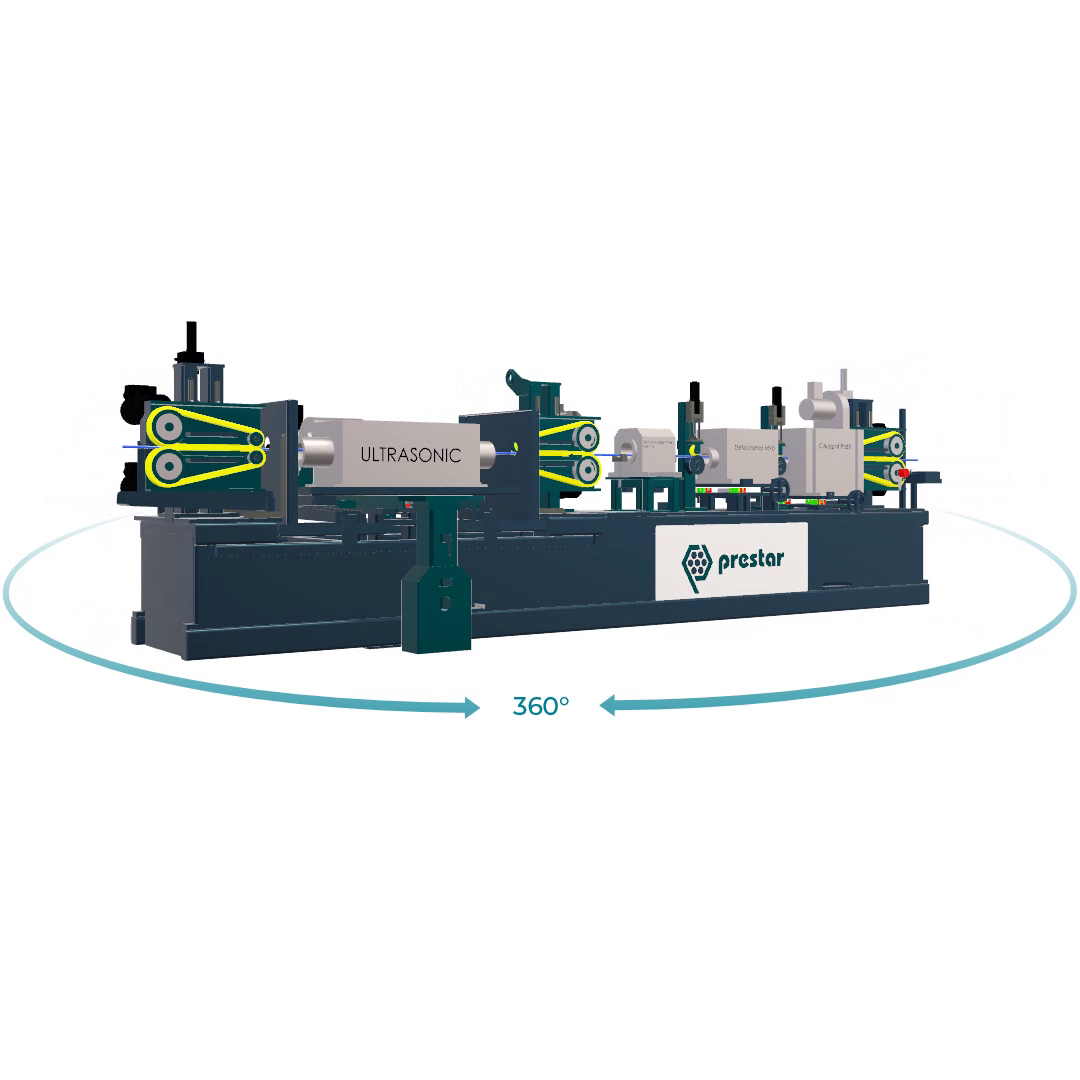
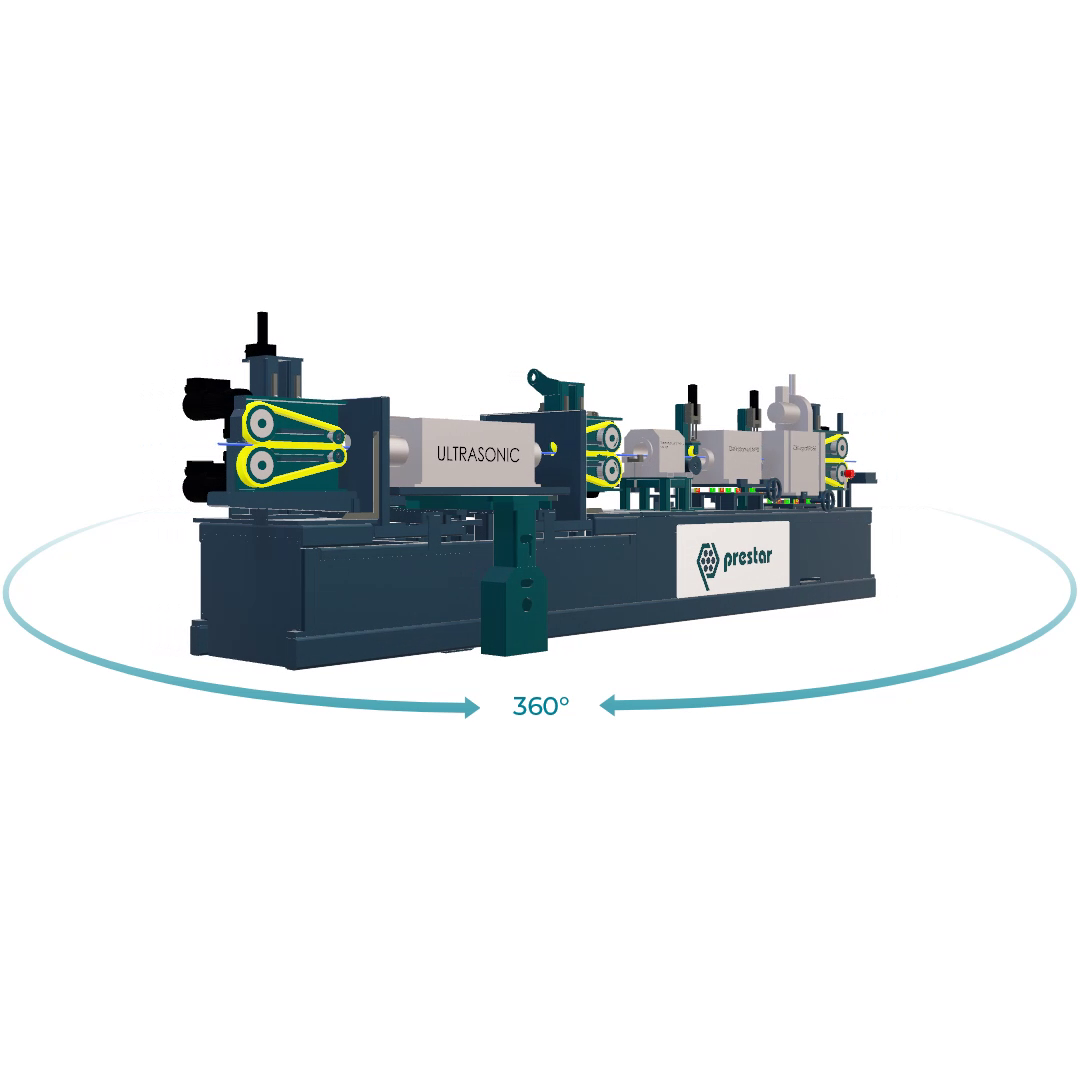
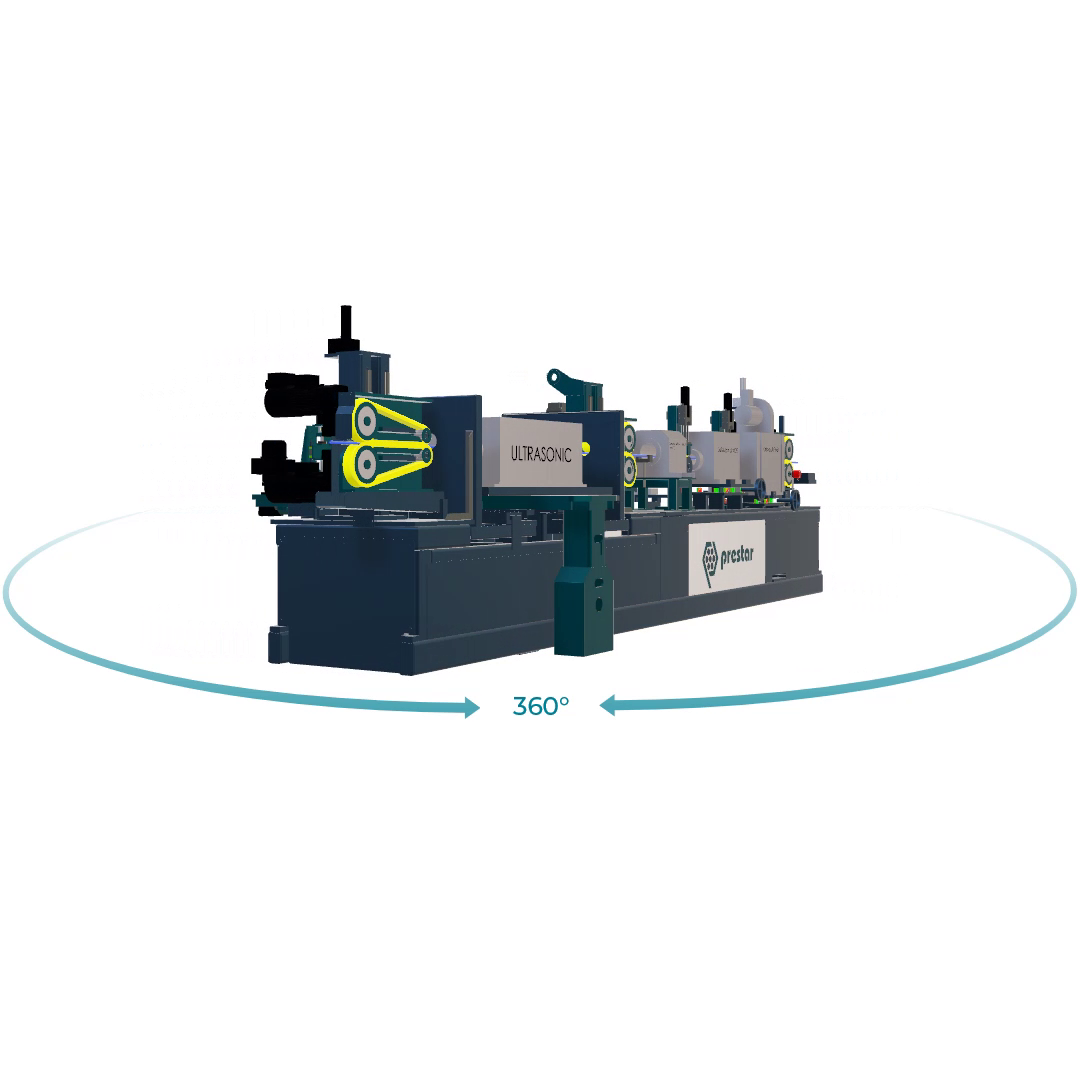
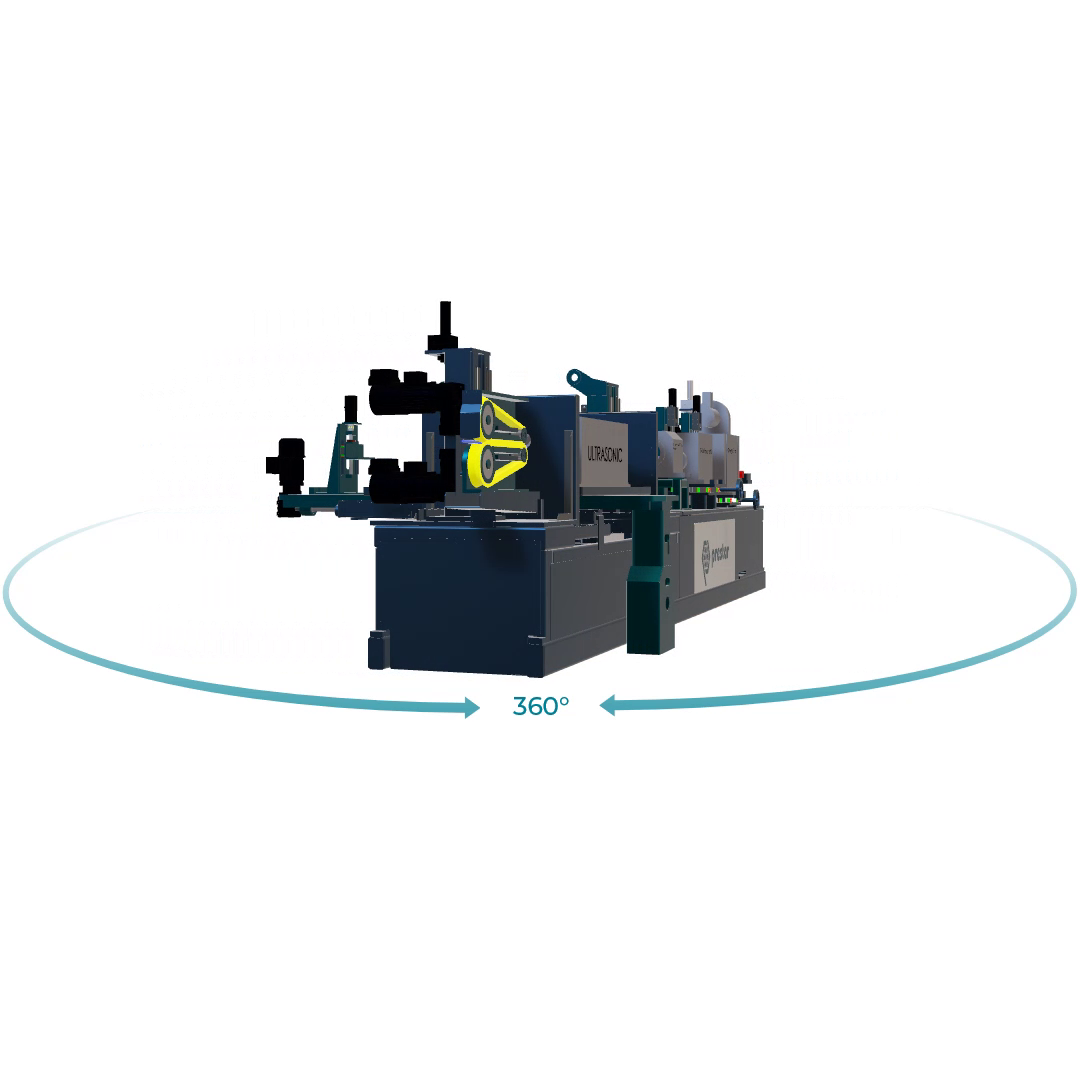
Tube testing tables are used as supports and bases for devices for testing the quality of tubes and bars. They allow height adjustment and at the same time guarantee the accuracy of the tests when the test devices are positioned non-destructively to detect defects in the material under test. They guarantee a quiet and smooth passage of the product, which does not affect the result of the test. Information about the position of the product is collected throughout the testing process and the control system then passes the information about the conforming or non-conforming product to the higher-level systems and transport systems. Each defect is marked with a specific color by the marking device. We can combine several test devices on a test bench to work in manual or automatic mode, and we can help you integrate the equipment into your existing (current line).
Product location information is collected throughout the testing process, and the control system then passes the information about the conforming or non-conforming product to the higher-level systems and transport systems. Each defect is marked with a specific colour by the marking device.
We can combine several test instruments on a test bench to work in manual or automatic mode, and we can help you integrate the equipment into your existing line.
Technical parameters of the machine
|
Diameters of tested tubes and bars and rods |
from 6 mm upwards |
|
Tube and bar lengths: |
from 0,85 m |
|
Tube and bar types: |
Material tested from ferromagnetic and non-ferromagnetic metals |
|
Control system: |
Siemens or according to the parent control system of the workplace |
|
Table equipement: |
Axis alignment of control device of the material under test. Driving. units for transport and guidance material through the control devices. Possibility of moving the control device to the service position |
Other equipment of the machine
Non-destructive defect detection
Tube testing tables are adapted for a range of material testing equipment by various testing methods such as eddy currents, dispersive flow, ultrasonic, wetting and induction thermography heat flux. Detected surface or internal defects are made visible and precisely locates. They are also able to check the magnetic properties, chemical composition and mechanical properties of the material.
Next:
- The installation of the table is designed according to the spatial possibilities of the user
- Access to the device is solved through an entrance cover with a safety lock
- Colour coding of defective products
- Marking device for printing the surface of the tested products
- Wiping of the surface of the tested material from a splinter, water, or magnetic charge
- All parts of the table are controlled in manual mode by buttons on the HMI (Human Machine Interface)
- The table is controlled by its own PLC
- A water supply and management system can be supplied for ultrasonic testing
- Supply of a transport system in front of the non-destructive testing workstation – transport, and sorting of identical and non-conforming products
- Possibility of process machines for optimal preparation of surfaces and product, for optimal preparation surfaces and face surface of the product for self-testing – brushing, degreasing, ionizing nozzle, etc.
- For ultrasonic testing, we offer a system for transporting closed profiles „in touch“ and thus minimizing liquid ingress into the profile





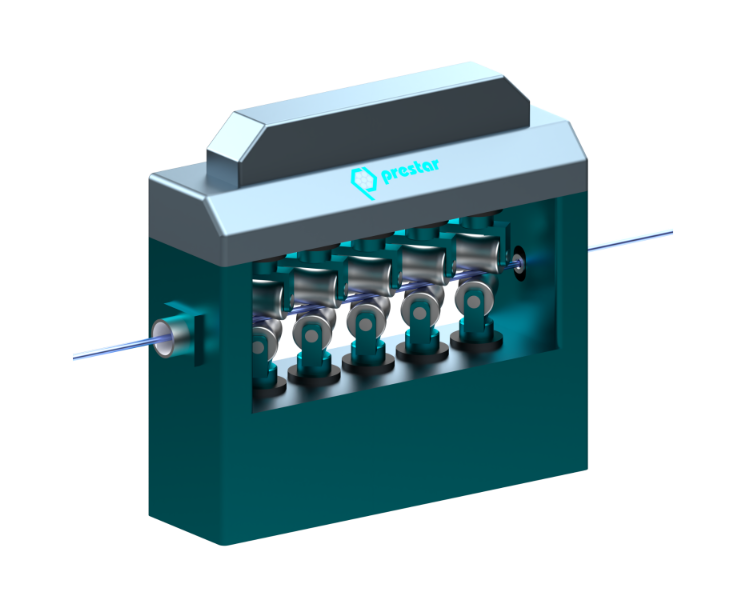
Straightening machines
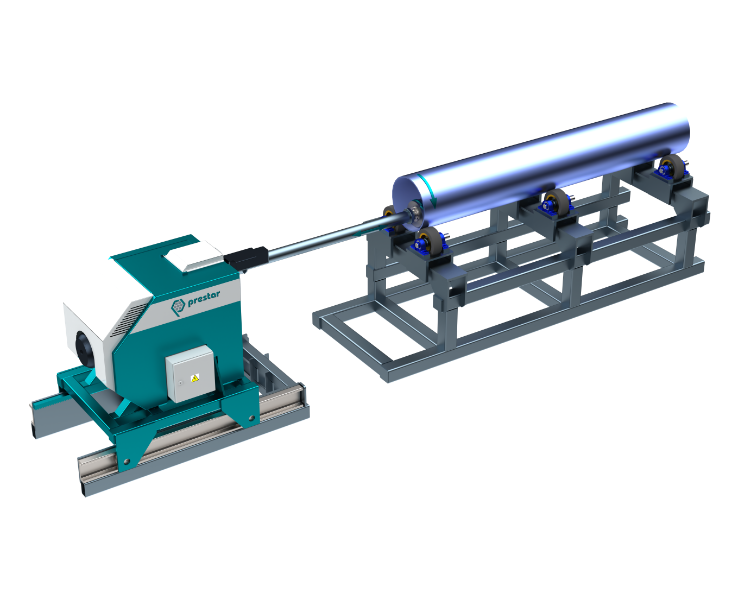
Internal pipe grinder
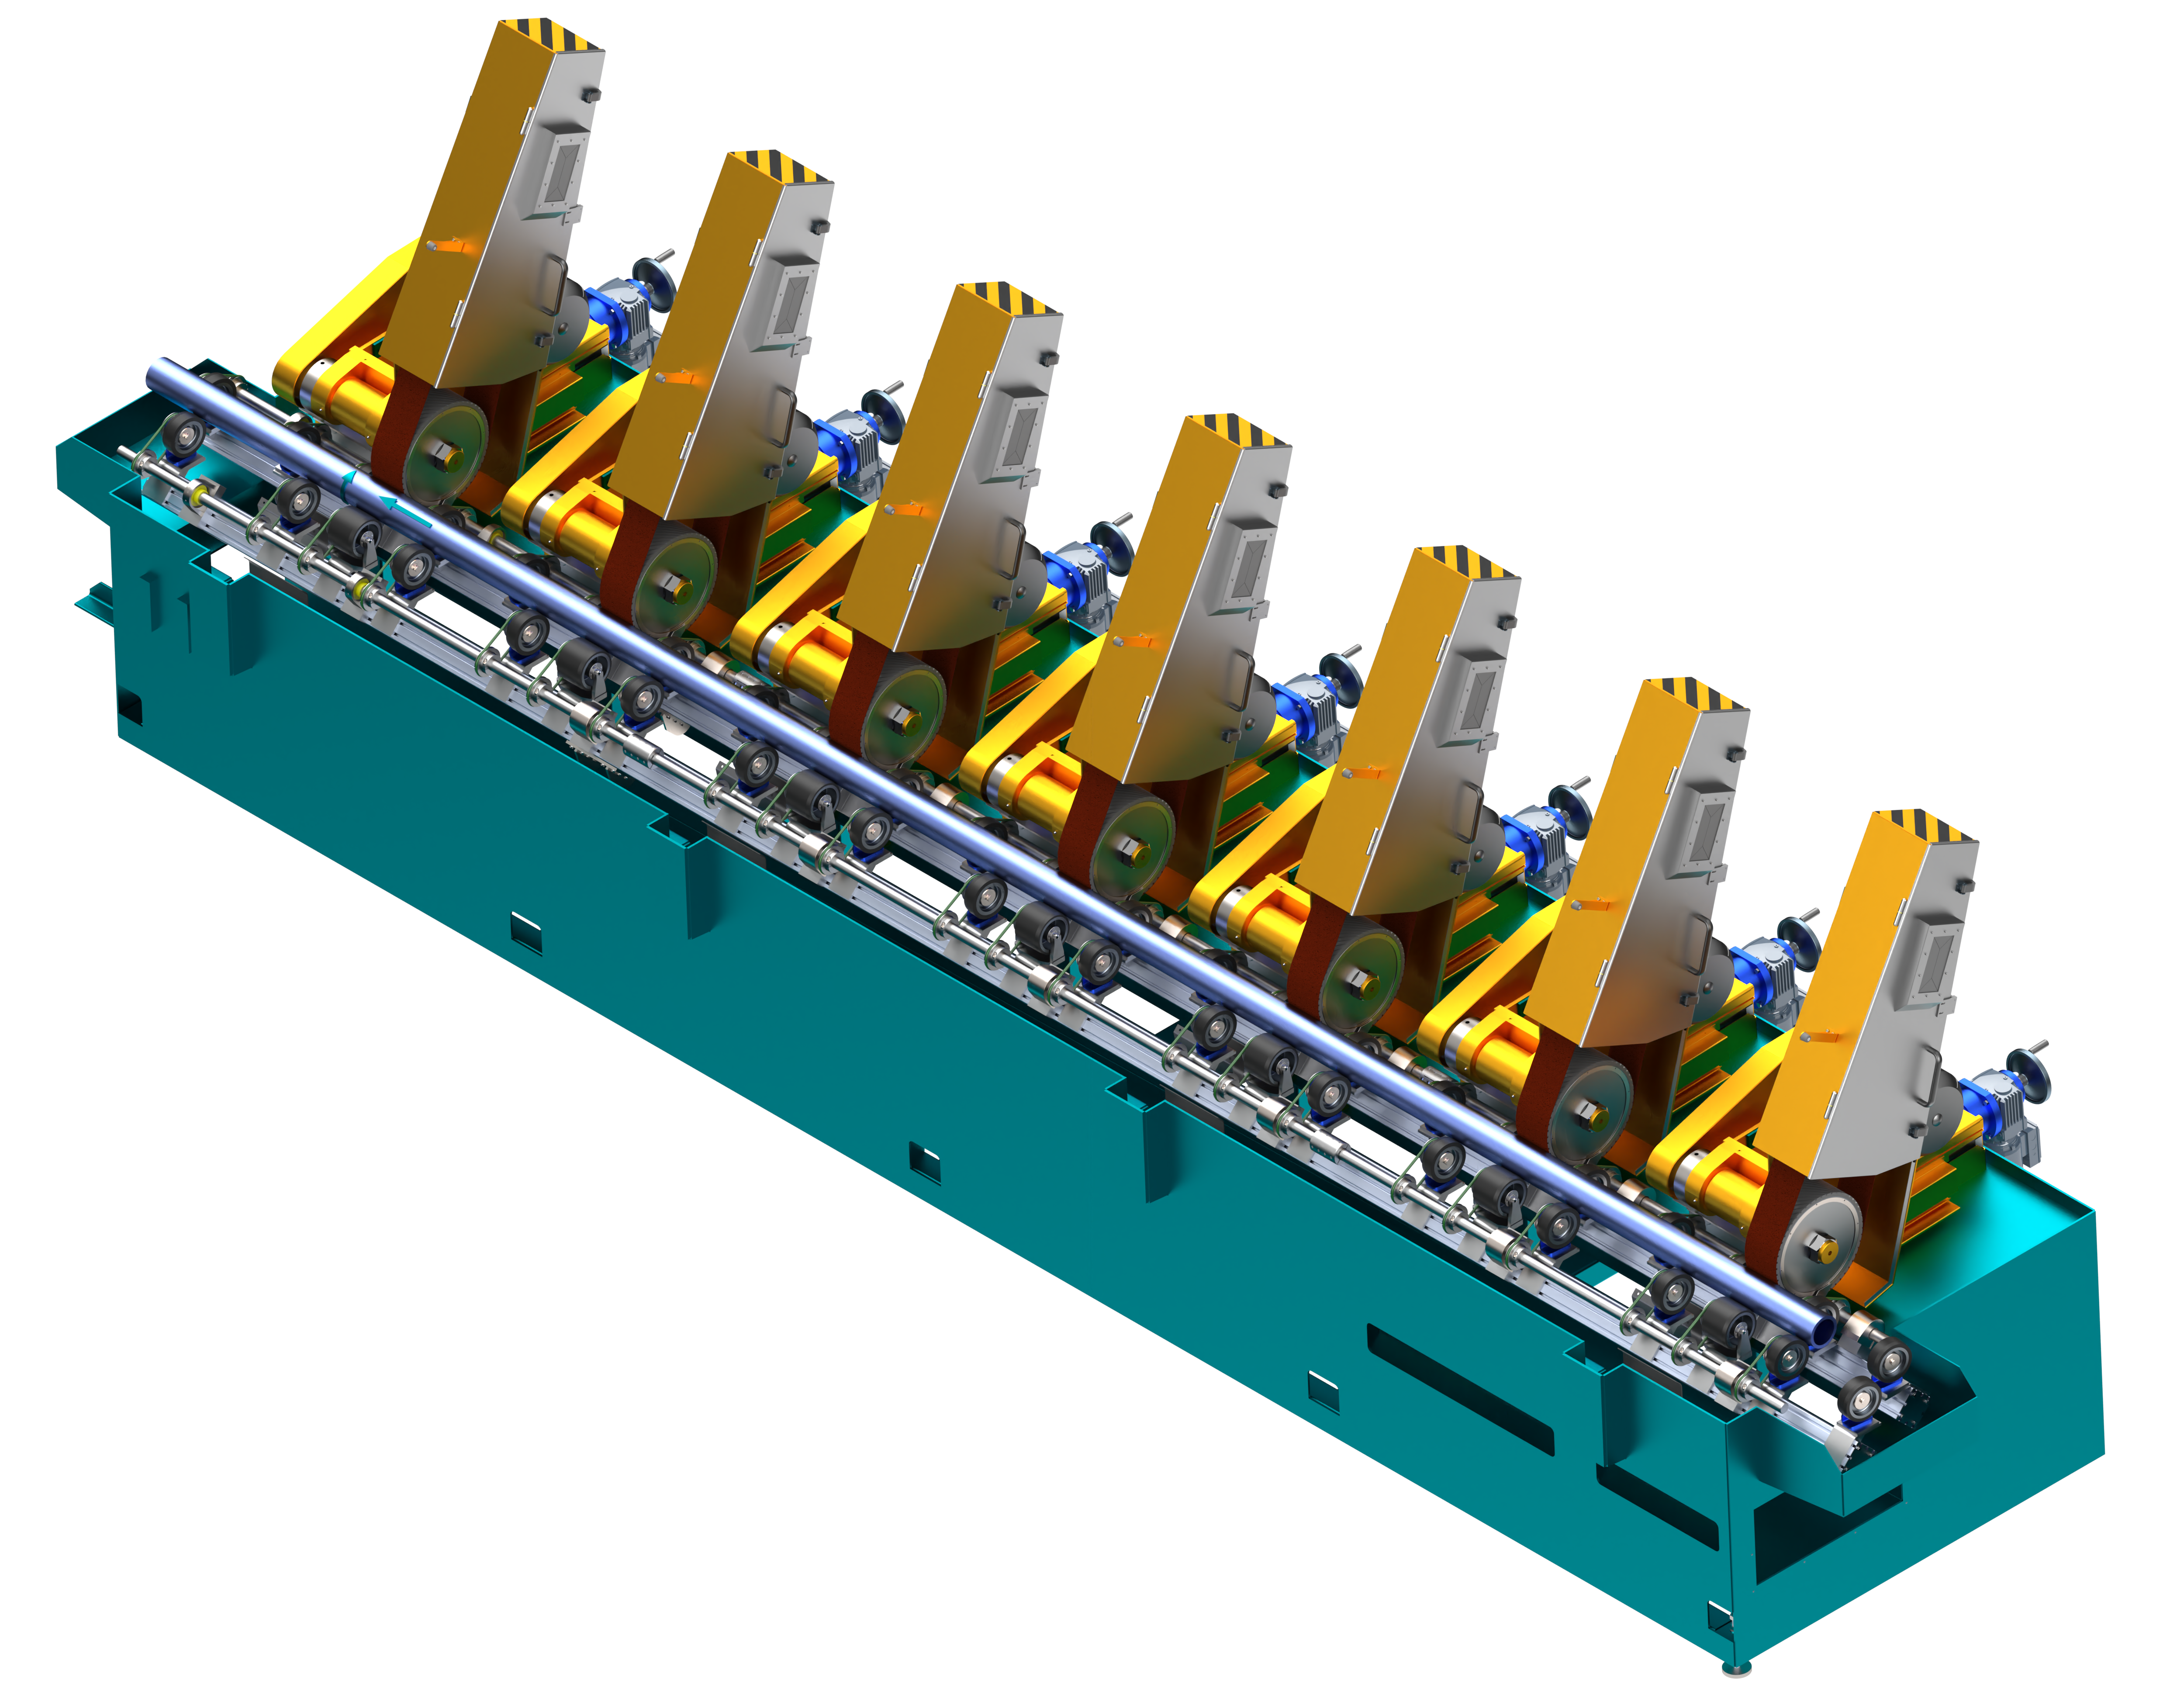
Centerless pipe grinder
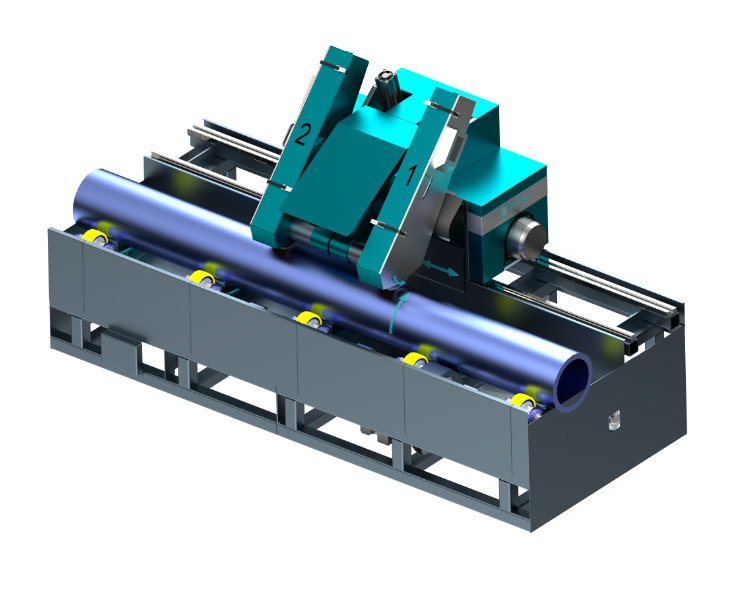
External stationary pipe grinder
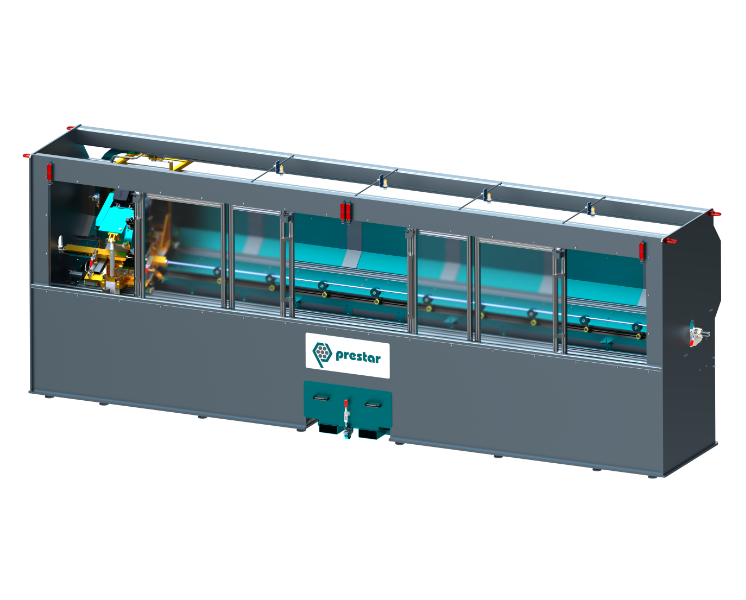
Flying saw
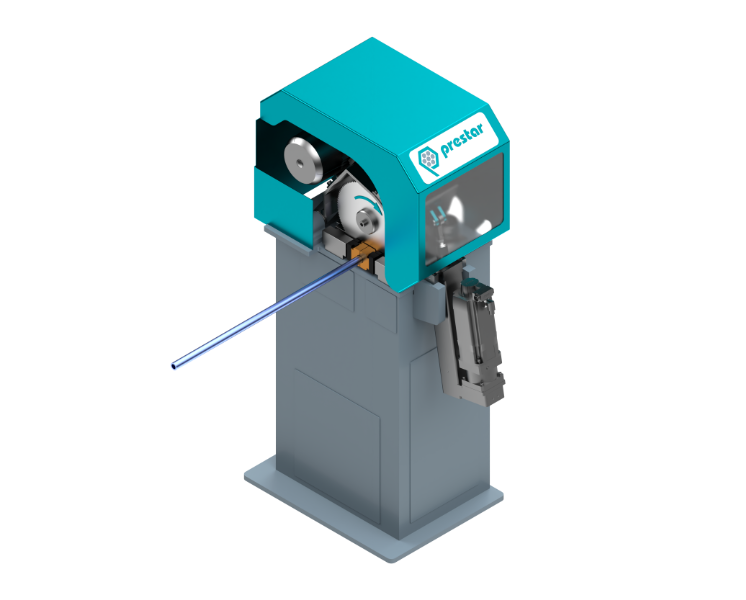
Circular saw
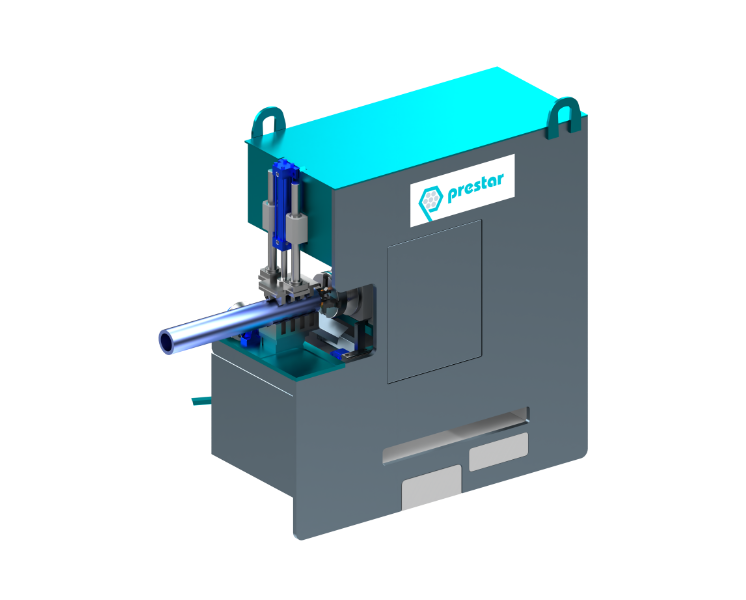
Chamfering of pipes
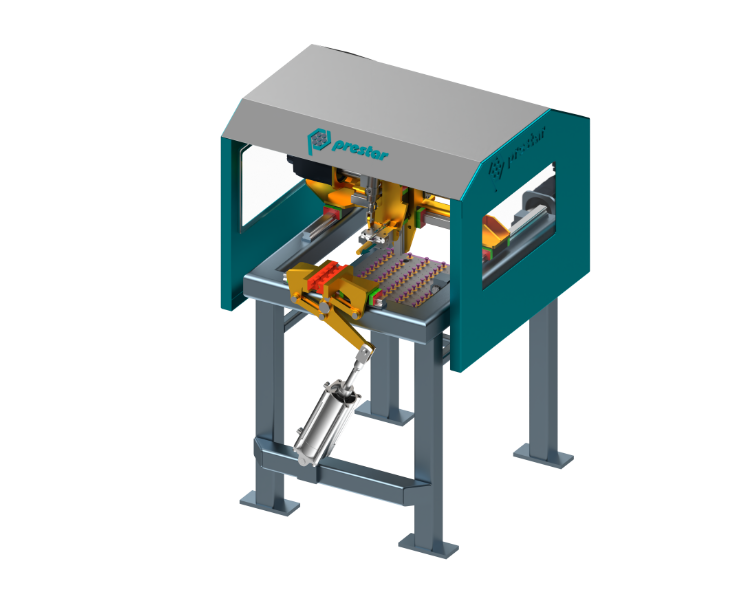
Sorting and plugging
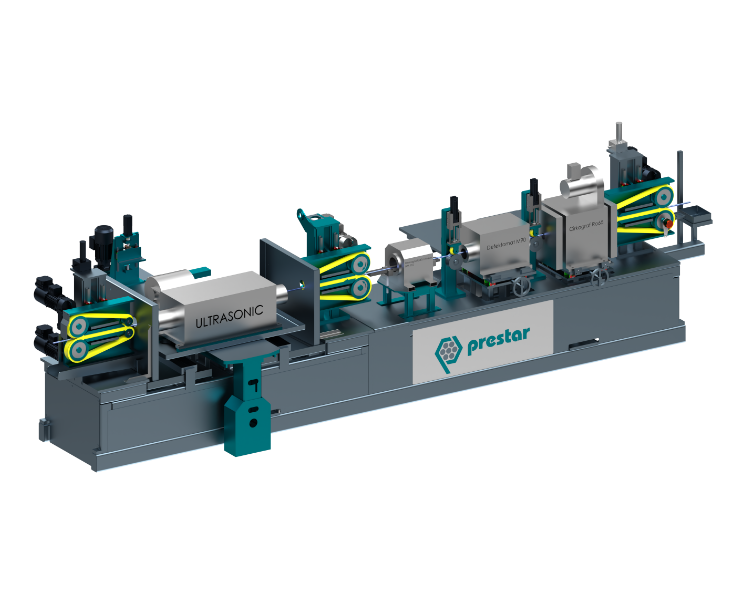
Control tables
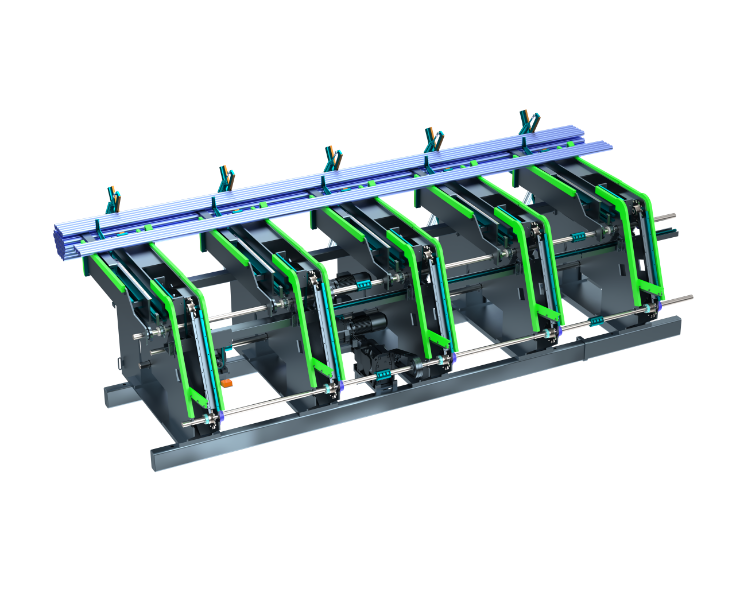
Packaging machines
A NEW LINE FOR PIPES OR RODS WILL DEMONSTRABLY MAKE PRODUCTION MORE EFFICIENT
